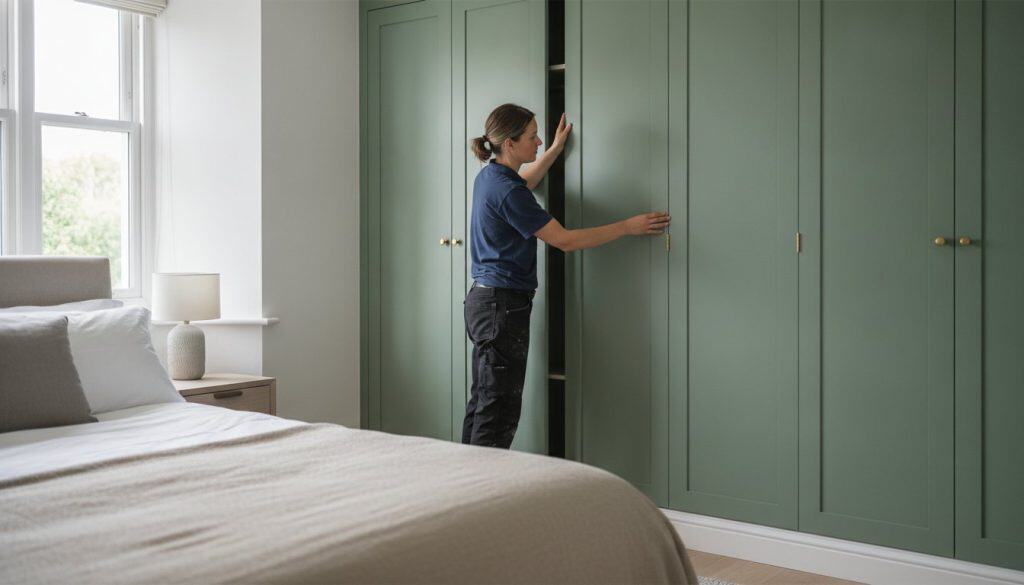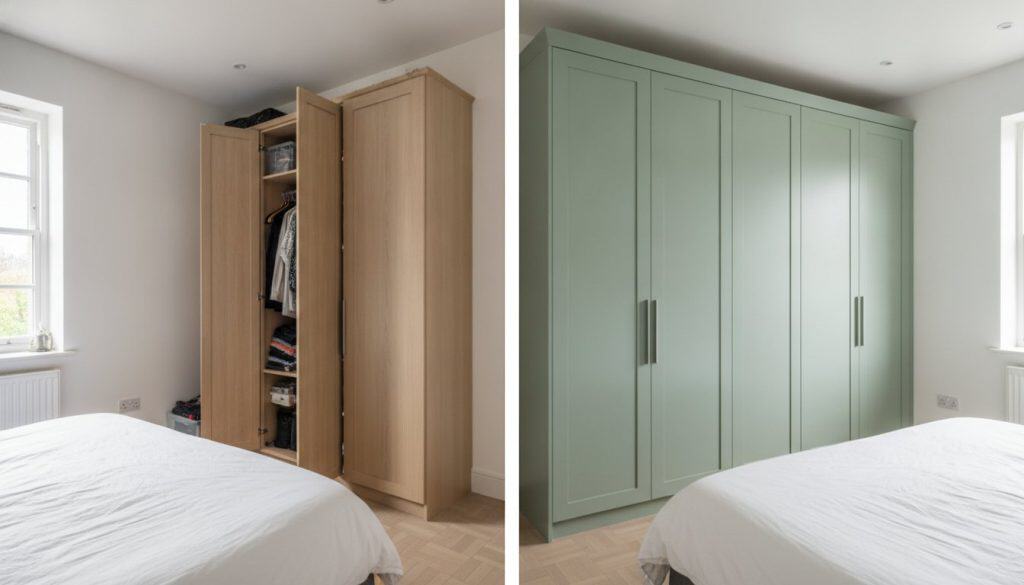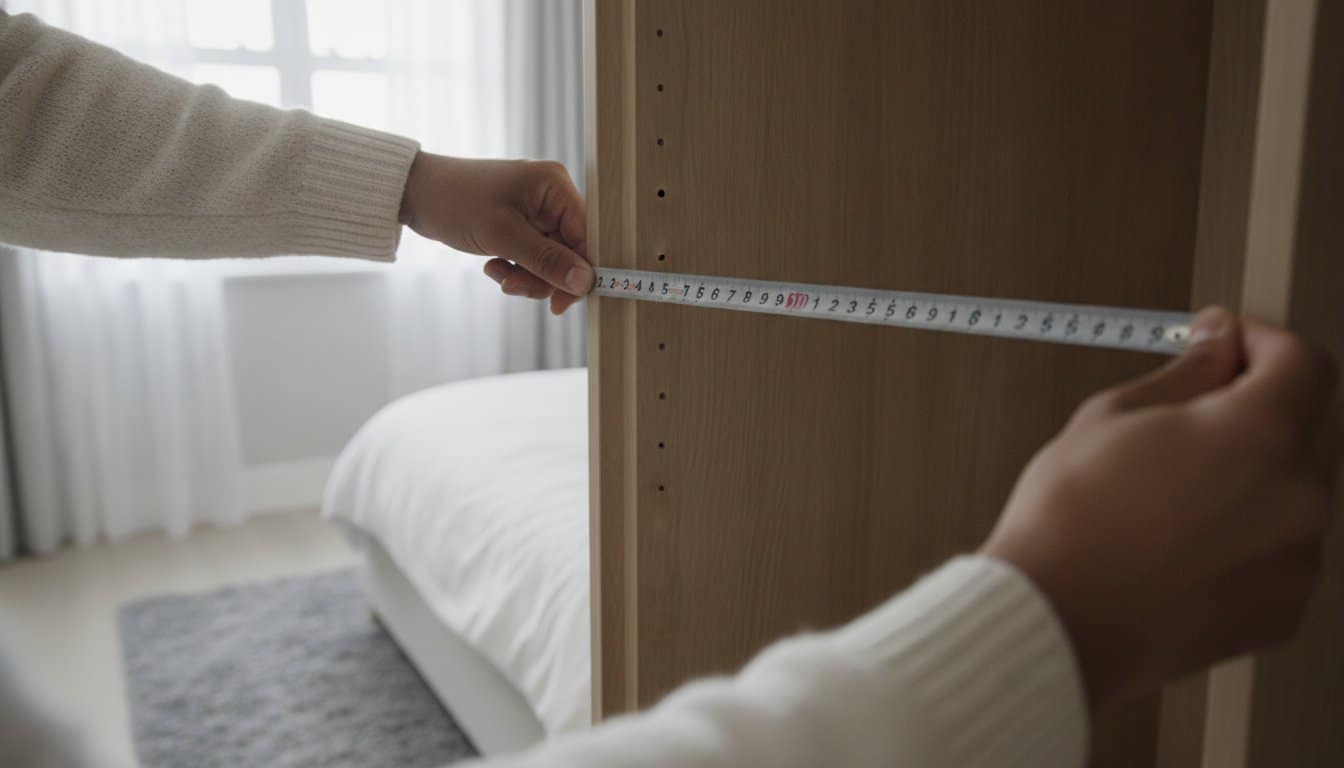
A single millimetre is often the only thing standing between a high-end bespoke finish and a costly mistake that haunts your interior design for years. You’ve likely felt that familiar pang of anxiety whilst staring at a tape measure, wondering if your floor is truly level or if your existing hinge holes will align with a new design. It’s a common fear that keeps many homeowners from upgrading to the luxury aesthetic they desire, yet the process doesn’t have to be a source of stress.
This guide will teach you exactly how to measure for replacement wardrobe doors with the precision of a master manufacturer, ensuring your order results in a flawless, hand-sprayed finish that elevates your home. We’ll walk through the essential steps to account for uneven surfaces, sloped ceilings, and complex hinge placements. By the end of this article, you’ll have the confidence to secure a millimetre-perfect fit for your bespoke doors, turning a standard bedroom into an organised sanctuary of British craftsmanship.
Key Takeaways
- Understand why millimetre-perfect precision is the non-negotiable foundation for achieving a seamless, high-end built-in aesthetic.
- Learn the professional “Back-of-Door” rule and why a high-quality steel tape measure is essential for bespoke accuracy.
- Master how to measure for replacement wardrobe doors whilst accounting for uneven surfaces and precise hinge hole alignments.
- Gain specific techniques for measuring complex configurations, such as sloped ceilings and elegant Skinny Shaker or Mirror Fret designs.
- Follow a final “Measure Twice, Order Once” checklist to ensure a flawless transition from your data to a hand-sprayed manufacturing process.
The Importance of Precision in Bespoke Wardrobe Renovation
The distinction between a standard renovation and a bespoke masterpiece lies in the precision of the initial data. When you transition from mass-produced furniture to custom cabinetry, you’re moving into a world where every millimetre is accounted for. Achieving that coveted “built-in” aesthetic requires more than just a general idea of size; it demands a meticulous approach to the space your furniture occupies. Mastering the technical nuances of how to measure for replacement wardrobe doors is the essential first step in a collaboration with master manufacturers.
Standard retail sizes often force homeowners to accept unsightly filler panels or large gaps to compensate for “one-size-fits-all” dimensions. By choosing replacement wardrobe doors made to measure, you reclaim the architectural freedom of your room. This allows for a seamless integration that respects the history and types of wardrobes found in diverse British homes, from Victorian terraces with high ceilings to modern apartments where every square inch is vital. Precision ensures that your new doors don’t just hang; they belong.
This level of accuracy is also vital for protecting the integrity of the hand-sprayed finishing. When doors are manufactured to exact specifications, there’s no need for on-site trimming or adjustments that could compromise the pristine, factory-cured surface. A professional reveal, the small gap between the door and the frame, should be consistent across the entire installation. Without accurate data, these gaps become uneven, immediately breaking the illusion of luxury and revealing a lack of craft.
The Philosophy of Luxury Craftsmanship
Bespoke design is about more than just aesthetics; it’s about structural longevity. Our studio approach treats each project as a unique architectural challenge. By opting for floor-to-ceiling elegance, you eliminate the dust-trapping voids common in freestanding units. British-made quality ensures that even at these grander scales, the doors remain stable and perfectly balanced over time. This methodology prioritises the enduring value of the product over fleeting trends, focusing on how the furniture interacts with the light and flow of your specific interior.
Centimetre vs Millimetre: Why Units Matter
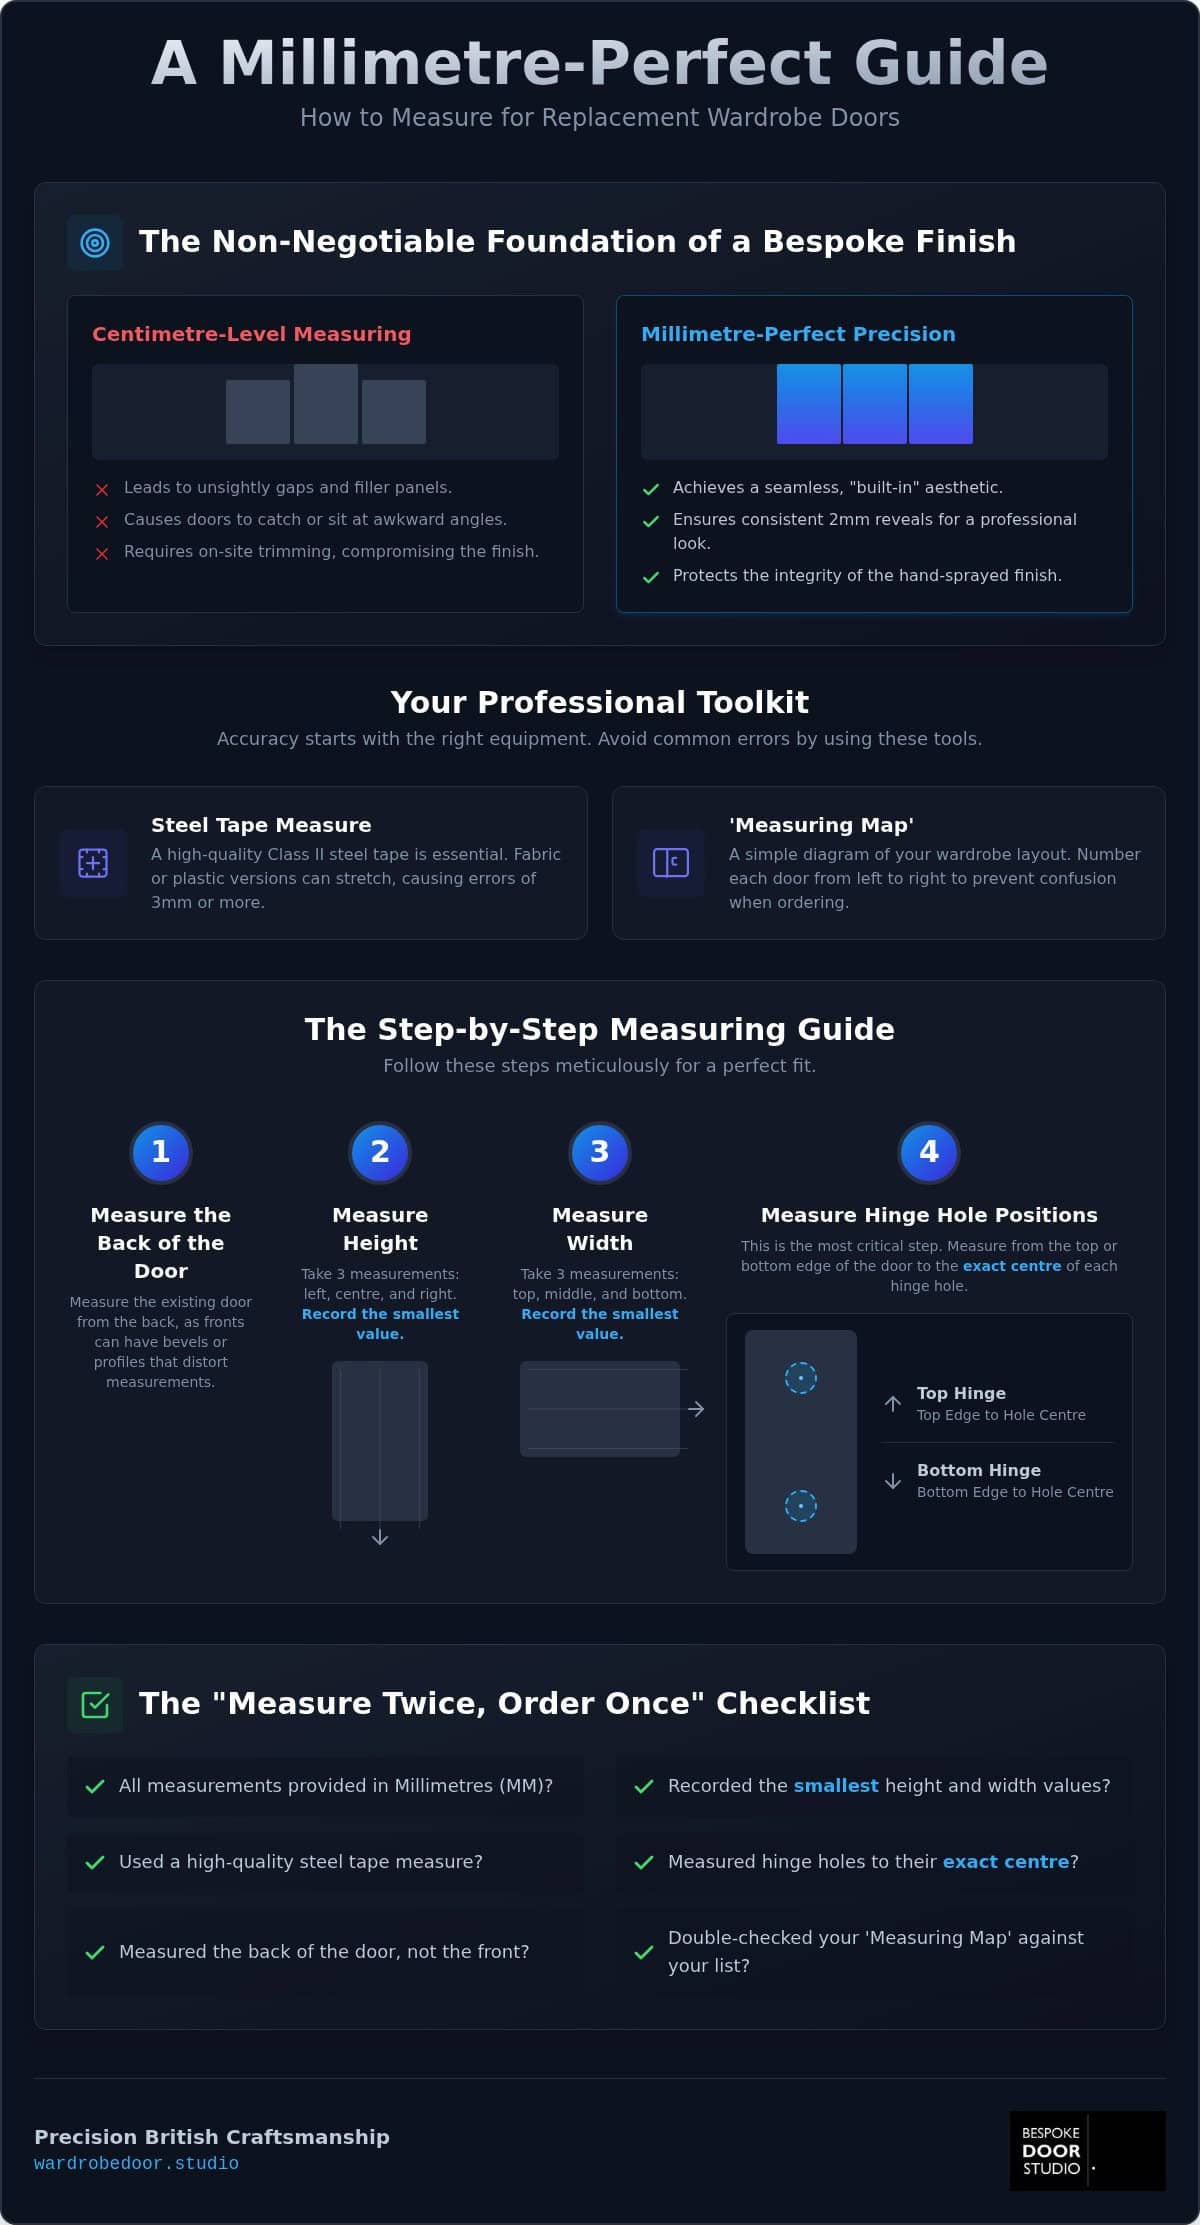
In the world of high-end joinery, centimetres are far too blunt an instrument. We require all measurements in millimetres to eliminate the rounding errors that inevitably occur with larger units. A mere 2mm discrepancy might seem negligible on paper, but it can ruin the alignment of a bespoke fitted wardrobes project, causing doors to catch or sit at awkward angles. For a professional finish, we typically work to a 2mm tolerance on all sides. This ensures the doors move with a silent, effortless glide whilst maintaining the tight, clean lines expected of premium cabinetry.
Essential Tools and Preparation for Accurate Measuring
Precision in bespoke joinery begins long before the manufacturing stage. Whilst basic household tools might suffice for minor adjustments, achieving a millimetre-perfect fit for high-end cabinetry requires professional-grade equipment. When you are learning how to measure for replacement wardrobe doors, your choice of measurement tools is as critical as the data you record. Using the correct apparatus ensures that the technical specifications you provide to the manufacturer translate into a flawless installation.
Before you begin, create a “Measuring Map.” This is a visual diagram of your existing wardrobe layout, numbering each door from left to right. This simple organisational step prevents confusion when placing a complex order for multiple openings. You should also decide whether to measure your existing doors in situ or remove them. Measuring in situ is generally preferred as it allows you to see how the doors interact with the carcass and floor in their natural state, though removing a single door can make it easier to reach hinge hole centres with absolute precision.
The Professional Toolkit
To ensure your data is reliable, you will need a curated set of tools that prioritise accuracy over convenience. We recommend the following:
- Steel Tape Measure: Use a high-quality Class II steel tape. Avoid fabric or plastic versions, as these can stretch or fray, leading to errors of 3mm or more over long distances.
- Spirit Level: A 600mm or 1200mm spirit level is vital to check the “squareness” of your existing wardrobe frame. If the carcass has settled over time, your measurements must account for these deviations.
- Digital Callipers: These are the gold standard for measuring hinge hole centre-points. They provide a level of decimal accuracy that a standard tape measure cannot match.
- Laser Measure (Optional): For floor-to-ceiling heights, a laser measure can provide a secondary check to confirm your manual readings.
Assessing the Existing Wardrobe Carcass
A successful installation depends on the stability and alignment of the underlying frame. Use your spirit level to check if the carcass is plumb (vertical) and level (horizontal). If the frame is significantly out of alignment, you may need to adjust your door sizes to ensure a consistent reveal. It is also essential to determine your cabinet door size by identifying any potential obstructions. Look for skirting boards, decorative coving, or light switches that might interfere with the door’s swing or the placement of a handle.
Finally, record the thickness of your carcass walls. Most standard units use 15mm or 18mm boards. This measurement is crucial for selecting the correct hinge plates, as it dictates how the door sits against the frame. If you find your existing setup is particularly complex, you may wish to browse our collection of bespoke fitted wardrobes for inspiration on how professional layouts handle challenging architectural features.
A Step-by-Step Guide to Measuring Wardrobe Doors and Hinge Holes
To achieve a millimetre-perfect fit, you must first understand the “Back-of-Door” Rule. Professional joiners never measure from the front surface, as decorative profiles, bevelled edges, or Shaker recesses can lead to deceptive readings. Always flip the door and measure the flat rear surface to find the true height and width. This step-by-step process for how to measure for replacement wardrobe doors prioritises this rear data to ensure your new bespoke order matches the physical reality of your carcass perfectly.
When recording the height, don’t rely on a single measurement. Buildings settle over time, and wardrobe frames can warp or lean. You should measure the height at the left, centre, and right of each door opening. Use the smallest of these three figures to ensure the door doesn’t catch on the frame. The same logic applies to width; measure at the top, middle, and bottom. For a comprehensive visual walkthrough of these techniques, offers an excellent practical demonstration of checking levels and ensuring a professional fit before you commit to an order.
Calculating the Perfect Reveal
The “reveal” is the subtle gap between doors that allows them to open without clashing whilst maintaining a tight, high-end appearance. In the UK, a 2mm or 3mm reveal is the professional choice for bespoke cabinetry. To calculate the required door width for a pair of doors, measure the total width of the opening, subtract the total reveal (usually 6mm for three gaps: left, centre, and right), and divide the remainder by two. This ensures a symmetrical finish. If you are using an “Overlay” style, the door sits on the face of the carcass, whereas “In-Frame” designs sit flush within it, requiring even stricter tolerances to avoid sticking.
Mapping Hinge Hole Positions
Most modern wardrobes utilise 35mm circular hinges. To ensure your new doors align with existing carcass plates, you must measure from the top and bottom edges of the door to the centre of the 35mm hole. Whilst standard positions often sit 100mm from the edge, taller bespoke doors may require a third or fourth hinge to maintain stability and prevent bowing. Precision here is non-negotiable; even a 1mm shift can result in a door that won’t close. You must also measure the cup depth for specialised hinges to ensure the door material is thick enough to accommodate the hardware without piercing the hand-sprayed face.
Measuring for Specialised Styles: Sloping Ceilings and Mirror Fretwork
Older British properties frequently present architectural challenges that standard retail units cannot accommodate. When you are determining how to measure for replacement wardrobe doors for a loft conversion or a room with period cornicing, the complexity increases significantly. These spaces often suffer from floor-to-ceiling height variations where a difference of 10mm across a single run of wardrobes is common. This is where the distinction between a budget fix and a luxury bespoke installation becomes most apparent, as precision ensures your cabinetry follows the unique contours of your home without unsightly gaps.
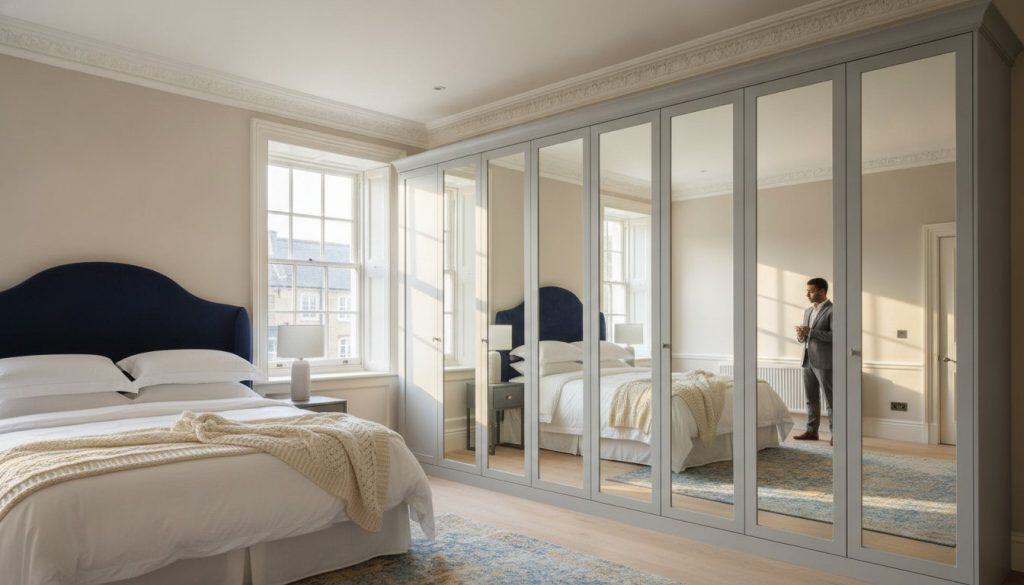
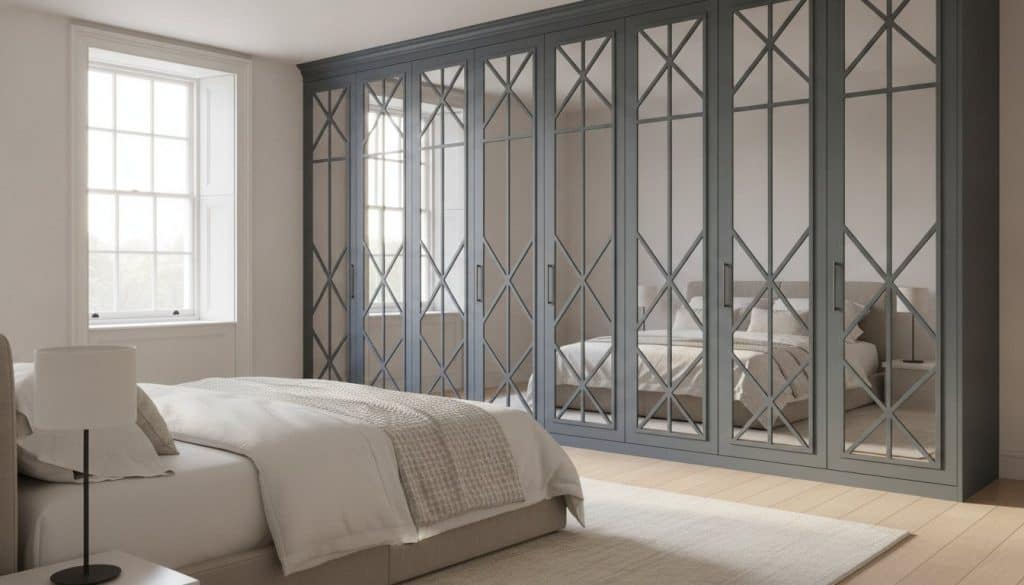
The aesthetic success of a bespoke project relies on maintaining elegant proportions across varying door sizes. This is particularly true for mirror fret wardrobe doors, where the intricate fretwork patterns must be perfectly centred. If you have a run of doors with slightly different widths due to carcass variations, the fretwork design should be adjusted so the visual weight remains consistent. Similarly, when measuring for “Skinny Shaker” styles, the slimness of the rails must be respected; a door that is too narrow can make a standard shaker rail look bulky, whilst a bespoke skinny profile maintains its refined appearance regardless of the door’s dimensions.
The Geometry of Sloped Wardrobes
Measuring for angled doors requires a “Three-Point” method to capture the exact pitch of your ceiling. You must record the height of the long side, the height of the short side, and the overall width of the door. For complex loft conversions where the ceiling may have a slight curve or multiple angles, we often recommend creating a cardboard template. This physical guide allows us to verify the angle before the manufacturing process begins. It is also vital to ensure that your hinge placements are calculated to avoid the angled cut of the door, as placing a hinge too high on the sloped edge will compromise the structural integrity of the door.
Proportions for Fretwork and Shaker Designs
Handle placement is another critical consideration for oversized bespoke doors. For tall doors reaching up to 2400mm, handles should be positioned to balance the visual verticality whilst remaining ergonomic. If you’re managing a project with non-standard dimensions, understanding how to measure for replacement wardrobe doors allows you to maintain the design intent without compromise. Centring fretwork patterns on doors of varying widths requires a keen eye for detail, ensuring that the decorative elements don’t appear cramped on narrower units. If you are ready to elevate your interior with tailored storage, explore our full range of bespoke fitted wardrobes to see how these specialised styles integrate into high-end designs.
From Measurements to Manufacture: Finalising Your Bespoke Order
Once you have mastered how to measure for replacement wardrobe doors, the transition from raw data to refined cabinetry begins. This final stage is where your technical precision meets our manufacturing heritage. Unlike off-the-shelf retailers who rely on automated quote tools, we treat every bespoke order as a unique project requiring professional oversight. Your measurements serve as the architectural blueprint for our craftsmen, ensuring that the final product reflects the understated elegance of your home.
Selecting your finish is a critical decision that influences both the aesthetic and the lead time of your project. Our signature hand-sprayed finishing process involves multiple stages of curing and inspection in our English workshop. This meticulous approach provides a depth of colour and durability that mass-produced alternatives cannot match. Whilst this high-end process may extend lead times compared to standard doors, the result is a furniture-grade surface that remains beautiful for decades. You should also consider the sheen level; a satin finish offers a subtle glow that catches the light, whereas a matt finish provides a contemporary, velvet-like texture.
For developers and interior designers, we offer a dedicated trade supplier wardrobe doors pathway. This service provides the technical specifications and bulk logistical support required for large-scale residential projects. Whether you are a homeowner or a trade professional, our delivery process is designed to protect the hand-sprayed integrity of your doors. Each unit is individually wrapped and transported via a specialised courier to ensure it arrives in pristine condition, ready for the final installation.
The Final Checklist
Before submitting your order, perform a final audit of your “Measuring Map” to eliminate any risk of error. A few minutes of review can prevent weeks of delay. Ensure you have verified the following:
- Hinge Hole Alignment: Re-measure the distance from the top and bottom edges to the centre of each 35mm cup to ensure they match your carcass plates.
- Clearance and Swing: Confirm that door widths allow for a full opening radius without striking adjacent walls, radiators, or window sills.
- Sheen and Colour: Double-check that your chosen colour and sheen level are consistent across all components, including any matching plinths or end panels.
Professional Support and Installation
If your project involves complex angles or you simply prefer the peace of mind that comes with expert oversight, we offer a professional site survey and installation service. Our technical team reviews every bespoke order for potential errors, acting as a vital safety net before production begins. This collaborative approach ensures that your journey from initial measurement to final fit is seamless and successful. Speak to a specialist at Wardrobe Door Studio to discuss your measurements today.
Achieving Architectural Harmony Through Precision
Precision measuring is the bridge between a standard room and a bespoke sanctuary. By following this guide on how to measure for replacement wardrobe doors, you’ve moved past the limitations of off-the-shelf sizes and embraced the freedom of custom design. You now understand that millimetre-perfect data, combined with a meticulous “Measure Twice, Order Once” checklist, is the essential first step in a successful collaboration with master manufacturers.
Every order at Wardrobe Door Studio undergoes an expert technical review to ensure your vision translates perfectly into reality. Our doors are hand-sprayed in England, offering a level of finish and durability that defines luxury craftsmanship. With bespoke sizes as standard, you no longer need to compromise on design, even in the most challenging architectural spaces.
Take the final step towards a refined, organised home. Explore our bespoke door collections and start your luxury transformation today. Your journey to a flawlessly fitted interior is just a few precise measurements away.
Frequently Asked Questions
Do I measure the wardrobe door or the opening of the wardrobe?
You should measure the existing door if you are satisfied with its current fit and alignment. Measuring the flat rear surface of the door provides the most accurate data for our manufacturing process. If you are fitting doors to a new frame without existing doors, measure the internal opening of the carcass and subtract the necessary reveal gaps to determine the final door dimensions.
What is the standard “reveal” gap between two wardrobe doors?
A standard reveal gap of 2mm to 3mm is the professional choice for high-end cabinetry. This subtle gap ensures that doors can open and close smoothly without clashing whilst maintaining the tight, integrated appearance expected of bespoke furniture. Calculating this correctly is a vital part of learning how to measure for replacement wardrobe doors to achieve a luxury built-in look.
How do I measure for hinges if I want to use my existing wardrobe carcasses?
To measure for hinges, record the distance from the top and bottom edges of the door to the exact centre of the 35mm circular hole. This centre-point measurement is critical, as it ensures your new bespoke doors will align perfectly with the existing mounting plates on your wardrobe carcass. Use digital callipers where possible to ensure your readings are accurate to the millimetre.
Should I measure my wardrobe doors in millimetres or centimetres?
You must always measure in millimetres to ensure the precision required for bespoke manufacturing. Centimetres are far too imprecise for luxury joinery and often lead to rounding errors that can ruin the alignment of your doors. Millimetre-perfect data is the foundation of the high-end, hand-sprayed aesthetic and ensures a professional finish without unsightly gaps.
How do I measure a door for a wardrobe with a sloped ceiling or angled top?
Measuring for a sloped ceiling requires the “Three-Point” method: record the height of the long side, the height of the short side, and the overall width of the door. This data allows our workshop to calculate the exact angle of the pitch. For complex loft conversions with non-standard angles, creating a physical cardboard template is often the safest way to guarantee a flawless fit.
What if my wardrobe floor is uneven – how will this affect my measurements?
If your floor is uneven, you should measure the height of the door opening at the left, centre, and right, then use the smallest dimension. This prevents the door from catching on the floor or the frame during operation. Our technical team can offer specific advice on how to measure for replacement wardrobe doors when dealing with significant structural variations in older British properties.
Can I replace the doors on my IKEA PAX wardrobe with bespoke ones?
Yes, you can replace standard IKEA PAX doors with our bespoke, hand-sprayed alternatives. Because we manufacture every order to your specific dimensions, we can create doors that fit the IKEA carcass perfectly whilst providing a significantly more sophisticated aesthetic. This is an excellent way to upgrade a standard unit with our Skinny Shaker or Mirror Fret designs.
What is the “distance from edge” measurement for hinge holes?
The “distance from edge” refers to the small gap between the outer edge of the door and the start of the 35mm hinge hole. This measurement is typically 3mm, 4mm, or 5mm depending on the specific hinge hardware and the required door overlay. Verifying this dimension ensures your doors sit correctly against the carcass face and operate with a silent, effortless glide.