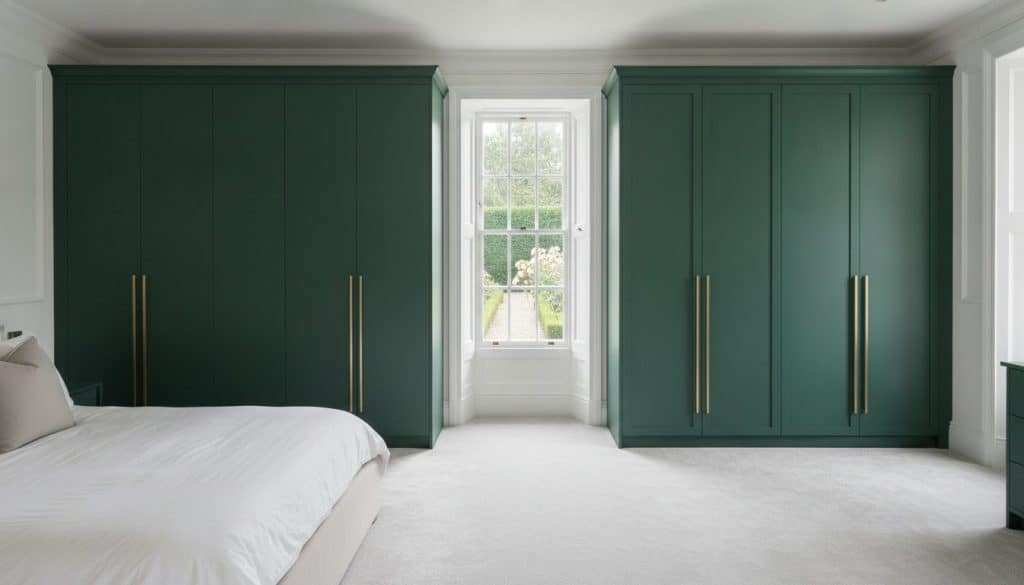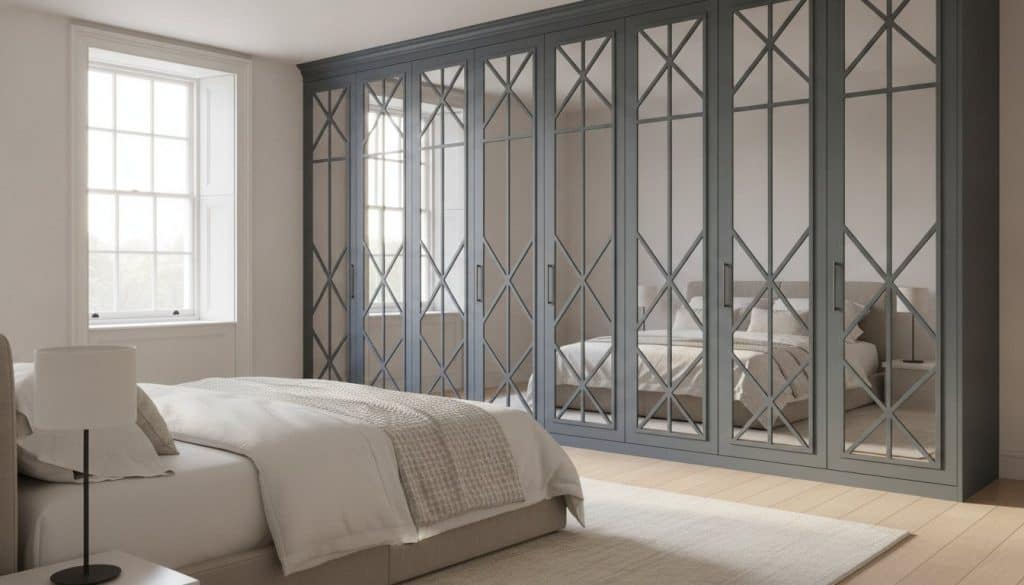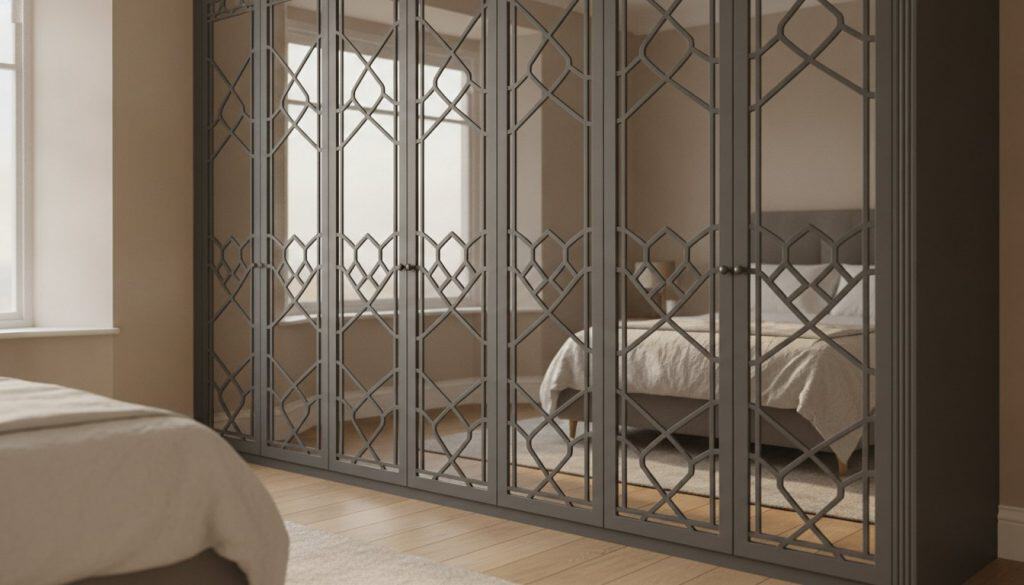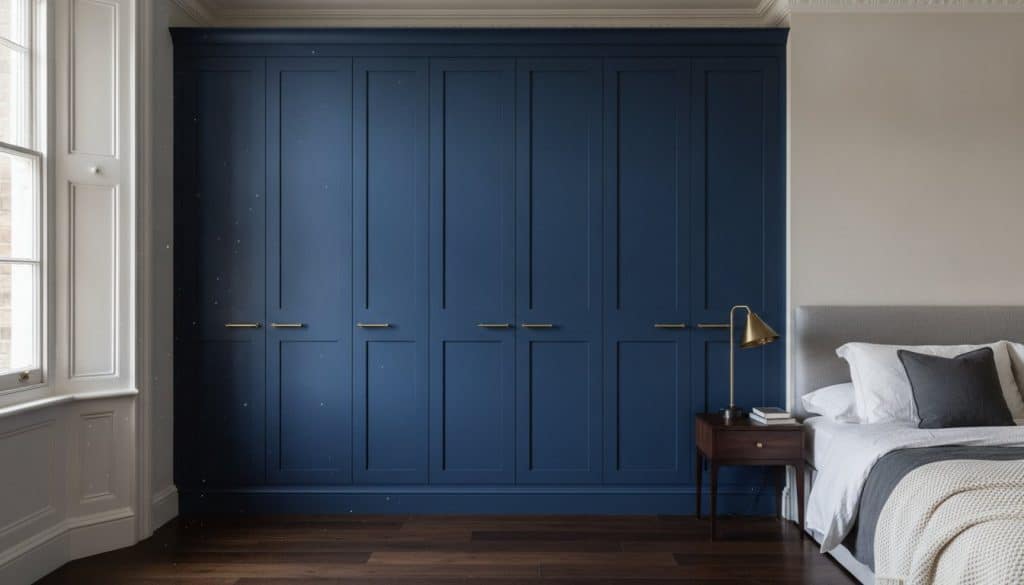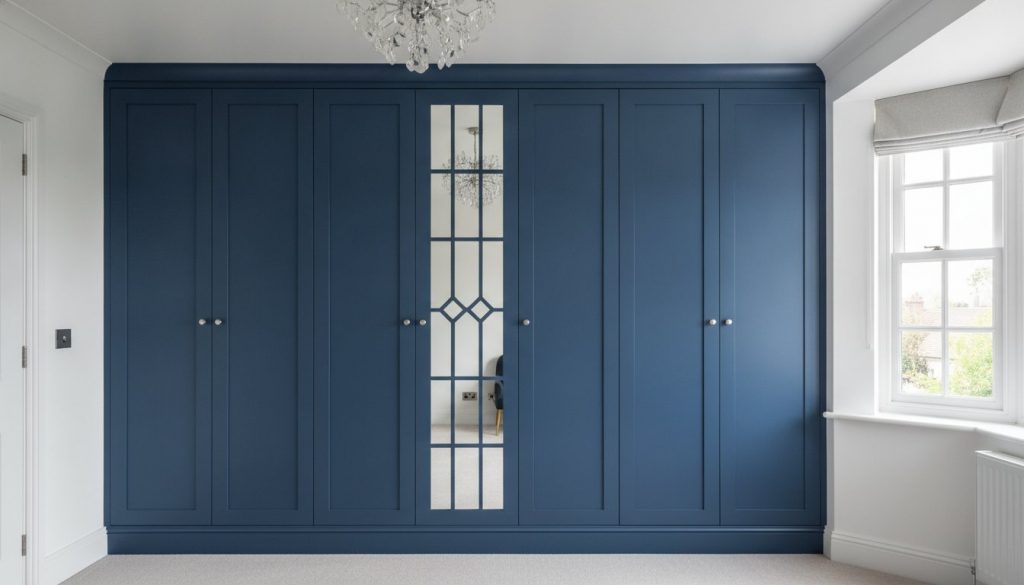
A single millimetre of misalignment is often the only thing that separates a bespoke masterpiece from a source of daily frustration. Whether you are facing doors that scrape against the frame or uneven shadow lines that disrupt your room’s visual flow, mastering concealed wardrobe hinges adjustment is the essential final step in preserving your furniture’s integrity. You have likely invested in premium hand-sprayed finishes and precision-engineered Skinny Shaker doors, so it is natural to feel a sense of hesitation before adjusting the hardware. However, allowing heavy doors to sag over time doesn’t just ruin the aesthetic; it places unnecessary strain on the entire wardrobe structure.
We recognise that maintaining the flawless symmetry of a luxury installation requires both a delicate touch and technical confidence. This guide provides the professional clarity you need to achieve perfectly level doors and a silent, effortless closing mechanism. We will explore the 2026 standards for three-dimensional adjustment, covering lateral, vertical, and depth movements. By the end of this article, you’ll possess the expertise to fine-tune your Mirror Fret or Classic Shaker doors with the precision of a master craftsman, ensuring your investment remains as impeccable as the day it was installed.
Key Takeaways
- Identify the three distinct axes of movement to eliminate uneven shadow lines and restore the flawless symmetry of your cabinetry.
- Master the professional order of operations for concealed wardrobe hinges adjustment to resolve door sagging whilst protecting delicate hand-sprayed surfaces.
- Learn specific handling techniques for the increased weight of Mirror Fret and Skinny Shaker doors to ensure smooth, silent operation.
- Establish a proactive maintenance schedule to counteract the effects of British climate fluctuations on your bespoke fitted wardrobes.
- Gain the technical confidence to perform precision adjustments that maintain the structural integrity and luxury aesthetic of your furniture.
Understanding Concealed Wardrobe Hinges: The Foundation of Seamless Design
The Concealed hinge, often referred to as a Euro or cup hinge, serves as the technical backbone of contemporary luxury cabinetry. Unlike traditional barrel hinges that disrupt the exterior profile of a piece, these mechanisms remain entirely hidden when the door is closed. This invisibility is a prerequisite for high-end bespoke fitted wardrobes, where the objective is to achieve a monolithic, architectural aesthetic. By July 2026, industry data indicates that concealed hinges hold a 45% market share, reflecting a dominant consumer preference for “hardware-free” designs that prioritise clean, uninterrupted lines.
Precision is the hallmark of a premium installation. The true value of these components lies in their three-dimensional adjustability. This engineering feature allows for minute corrections across the lateral, vertical, and depth axes, which is essential for creating consistent “shadow gaps” or the uniform spaces between doors. Without a mastery of concealed wardrobe hinges adjustment, even the most expensive cabinetry can appear amateurish. High-quality hardware is specifically designed to support the substantial weight of premium materials, such as solid timber or mirrored glass, whilst providing the flexibility to correct for the natural settling of a building.
The Anatomy of a Luxury Wardrobe Hinge
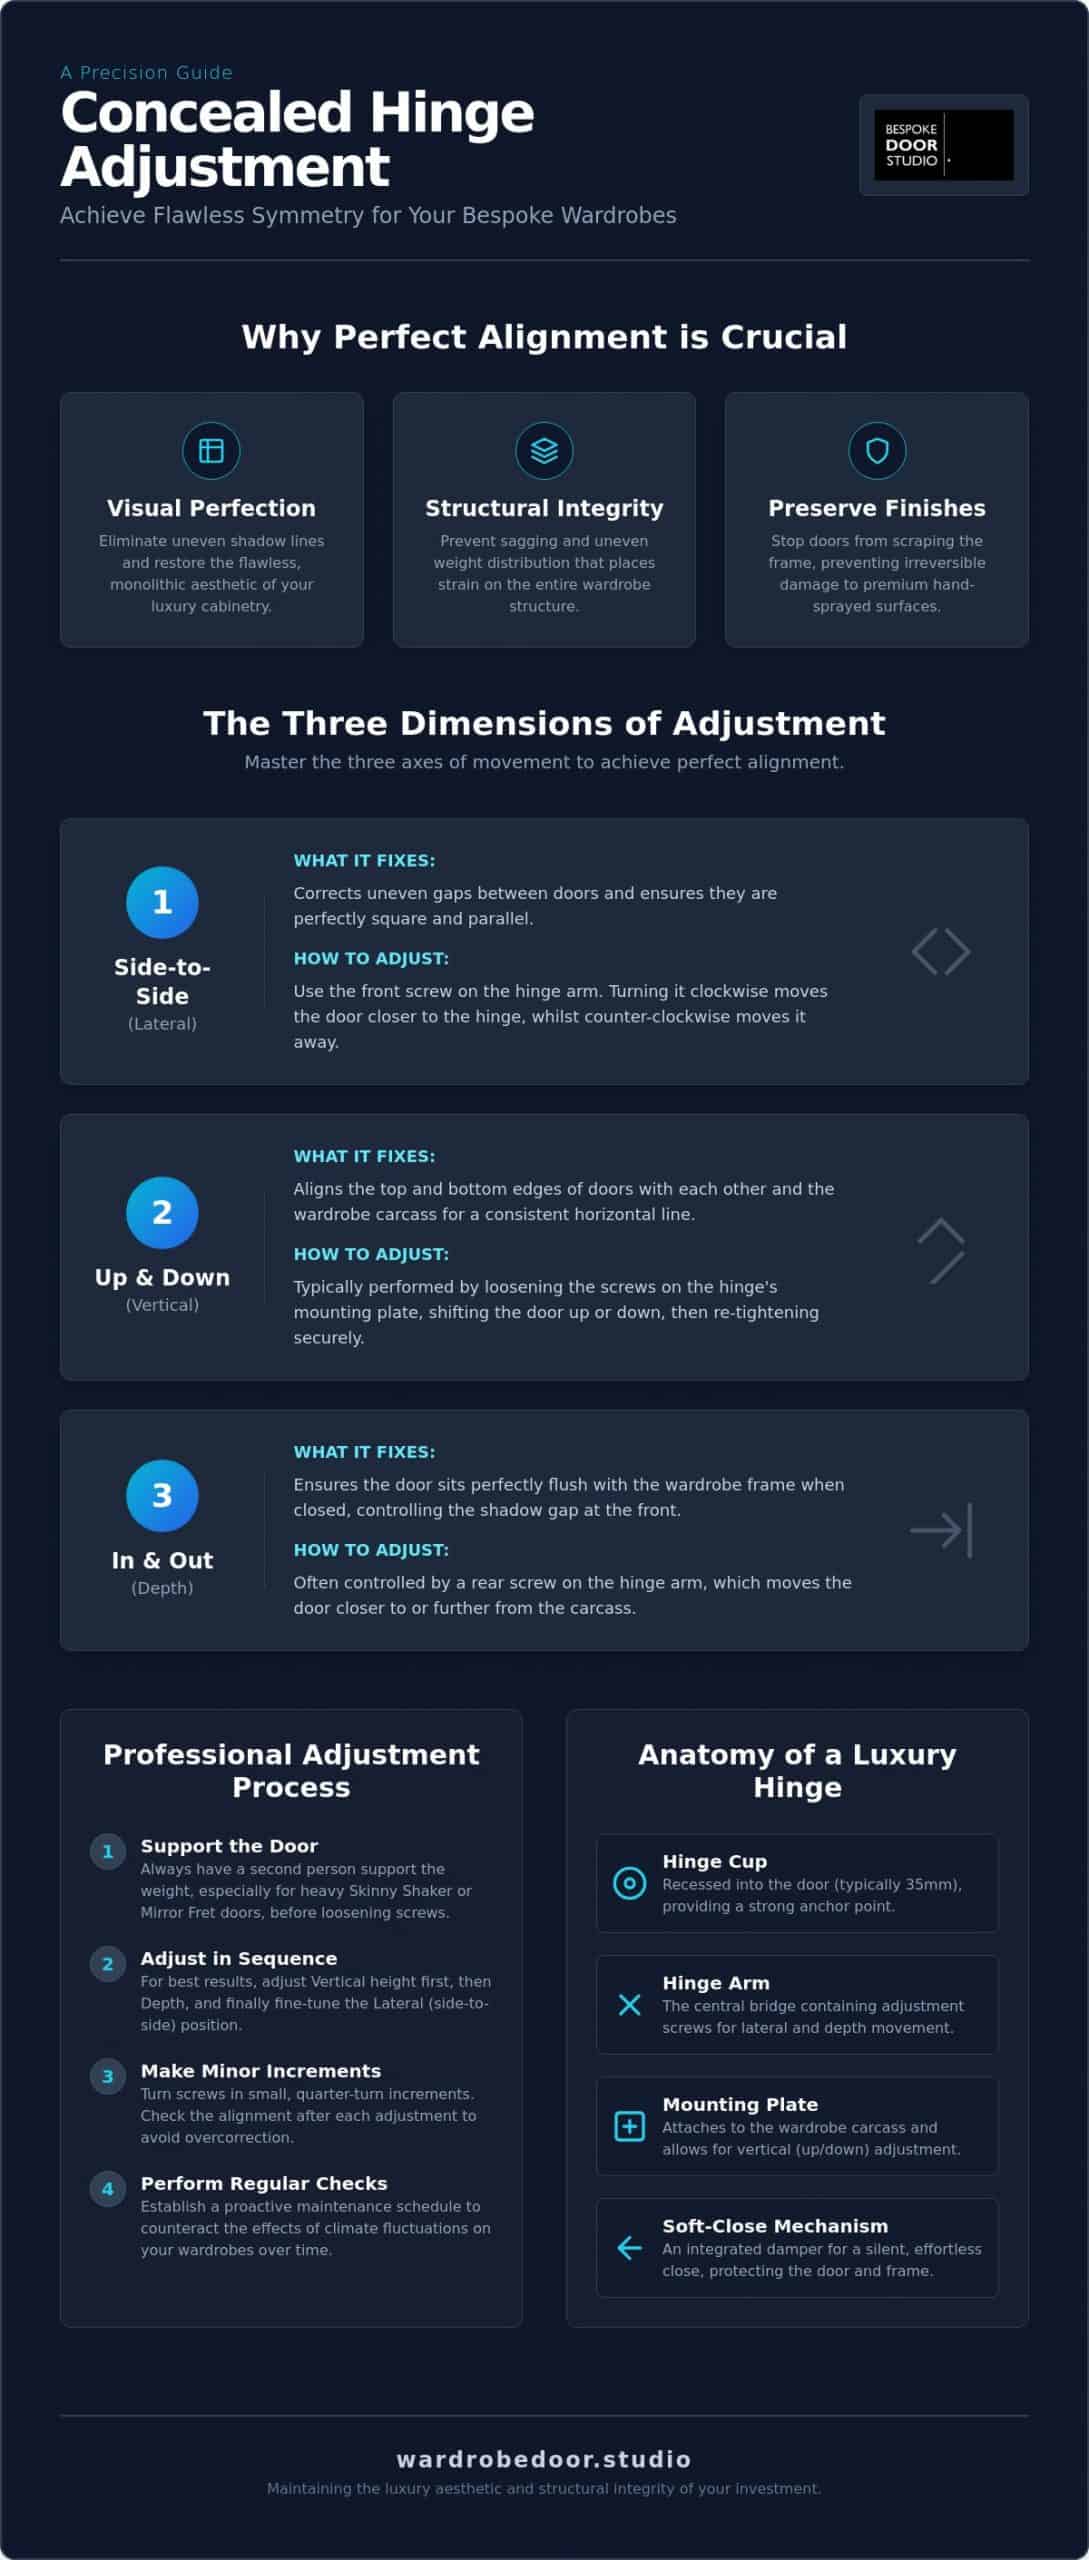
A standard concealed hinge consists of three primary elements: the hinge cup, which is recessed into a 35mm hole in the door; the arm, which bridges the gap; and the mounting plate, which attaches to the wardrobe carcass. In modern bespoke designs, integrated soft-close mechanisms are a standard expectation. These hydraulic dampers prevent doors from slamming, protecting both the hardware and the delicate furniture structure. Robust hardware is particularly vital for doors made from high-density materials, as it ensures the door remains stable and responsive throughout its lifespan.
Why Alignment Matters for Bespoke Cabinetry
Correct alignment isn’t merely a matter of aesthetics; it’s a structural necessity. When doors are misaligned, they often scrape against the frame, causing irreversible damage to a premium hand-sprayed finishing. Beyond physical wear, there is a profound psychological impact to perfect symmetry. In high-end interior design, the human eye is naturally drawn to inconsistencies in linear patterns. Regular checks and adjustments prevent uneven weight distribution, which can otherwise lead to structural strain on the wardrobe carcass and premature hinge failure.
The Three Dimensions of Concealed Hinge Adjustment
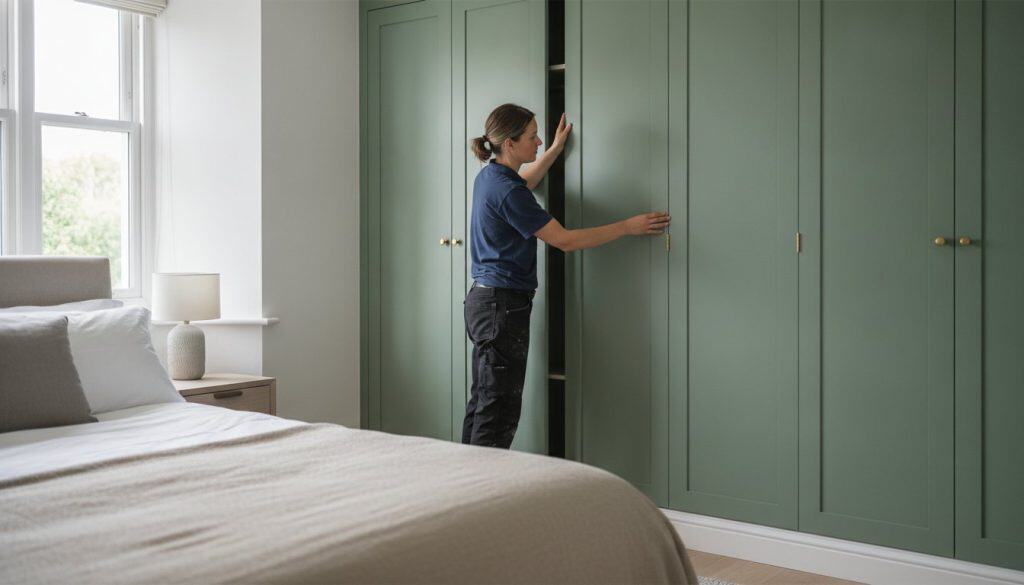
To master concealed wardrobe hinges adjustment, you must first interpret the visual cues your cabinetry provides. A door that scrapes against its neighbour requires a different intervention than one that refuses to sit flush against the carcass. Before you begin, always ensure you have a second person to support the door’s weight; loosening screws without a firm grip can lead to sudden shifts that damage the surrounding millwork. Modern hardware, such as the systems released in early 2026, typically offers three distinct axes of movement to ensure your furniture maintains its architectural integrity.
Understanding the concept of “overlay” is critical when working with replacement wardrobe doors made to measure. Overlay refers to how much of the wardrobe frame the door covers when closed. If this is uneven, the entire run of wardrobes will look disjointed. If you are unsure how to start, reviewing a guide on how to make these hinges adjustments can provide the visual context needed to proceed with confidence.
Side-to-Side (Lateral) Adjustment
The front screw on the hinge arm, closest to the door, controls lateral movement. Turning this screw clockwise moves the door closer to the hinge side of the carcass, whilst a counter-clockwise turn pushes it away. This is the primary method for squaring a door that appears tilted. You should aim for a standardised 2-3mm gap between pairs of doors to maintain the luxury aesthetic. Current 2026 standards for high-end hinges, like the Roto Solid C series, allow for a lateral adjustment range of ±3 mm, providing significant flexibility for precision tuning.
Height (Vertical) Adjustment
Vertical alignment is managed through the screws on the mounting plate attached to the wardrobe interior. By slightly loosening these screws, you can slide the door up or down to align its top edge with adjacent units. Once the desired height is achieved, it’s vital to tighten the screws fully to prevent sagging over time. Advanced 2026 hinge models now offer a vertical adjustment range of +4 / -2 millimetres, which is essential for heavy bespoke doors that place higher demands on their mounting plates.
Depth (In-and-Out) Adjustment
The rear screw on the hinge arm regulates how close the door sits to the wardrobe frame. If your doors “spring back” or leave a gap that allows dust to enter, a depth correction is necessary. Adjusting this screw ensures the door sits perfectly flush, creating a seamless front profile. If you find your current setup remains stubborn despite these efforts, viewing our latest bespoke fitted wardrobes can help you identify if your existing hardware has reached the end of its functional life or requires professional intervention.
Step-by-Step Guide to Perfecting Your Door Alignment
Executing a flawless concealed wardrobe hinges adjustment requires more than just a screwdriver; it demands a methodical approach and a controlled environment. Before you begin, clear the immediate area and ensure you have high-quality task lighting. It’s impossible to judge millimetre-perfect shadow lines in a dimly lit room. You must also verify that the wardrobe carcass remains plumb. Use a spirit level to check the vertical and horizontal planes of the unit itself. If the floor has settled and the carcass is tilted, no amount of hinge adjustment will ever produce a truly symmetric result.
Patience is your most valuable asset during this process. Whilst some general guides suggest this task takes mere minutes, a full bank of bespoke doors requires a deliberate, iterative technique. Rushing the process often leads to over-correction, where fixing one gap inadvertently creates another elsewhere in the run. By following a logical order of operations, you maintain control over the door’s geometry from start to finish.
Essential Tools for Precision Work
Luxury cabinetry demands the right equipment to avoid damaging expensive hand-sprayed finishes or stripping precision-engineered screw heads. Avoid power drills at all costs. The high torque of a drill can easily overwhelm the delicate threads of the mounting plate. Instead, utilise the following:
- Manual Pozidriv Screwdriver: Specifically a PZ2 bit, which provides a more secure fit than a standard Phillips head, preventing “cam-out” and screw damage.
- Spirit Level or Laser Level: Essential for verifying that the top edges of multiple doors form a perfectly straight horizontal line.
- Masking Tape: Apply small strips to the frame to mark your target alignment points without leaving permanent marks on the finish.
The Process: From Sagging to Symmetric
The “Order of Operations” is critical. You should generally address vertical alignment first. Because gravity is the primary force acting upon the door, securing the height ensures the weight is correctly distributed before you attempt lateral or depth corrections. Have your assistant support the door’s weight whilst you slightly loosen the mounting plate screws. Move the door into position and tighten them firmly before testing the swing.
Work in micro-adjustments. A half-turn of a screw can translate to a significant shift at the edge of a full-height wardrobe door. Close the door after every single adjustment to inspect the result from a distance. This iterative testing is the only way to achieve the flawless symmetry expected in high-end design. Finally, perform a functional check to ensure the soft-close features still engage smoothly. If the door is adjusted too tightly against the carcass, the mechanism may fail to pull the door home, compromising the silent operation that defines luxury furniture.
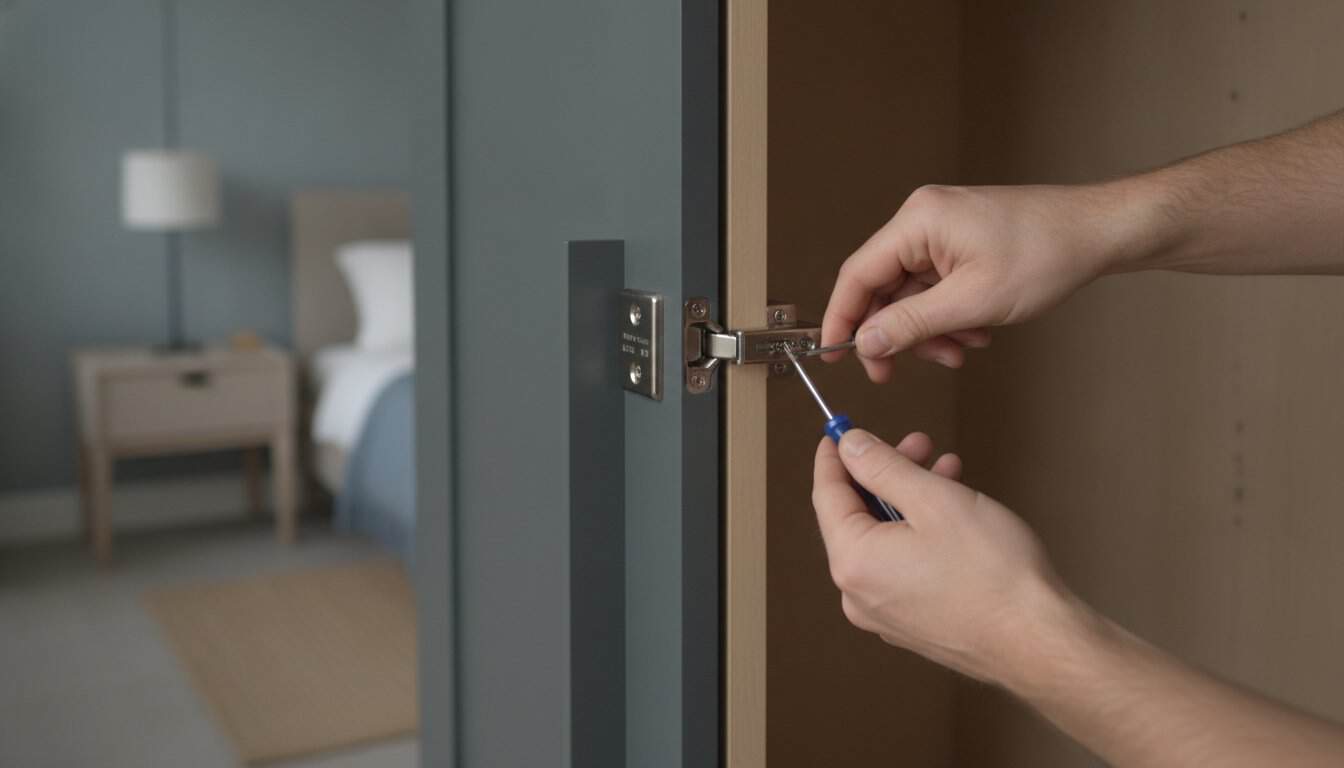
Adjusting Heavy Bespoke Doors: Skinny Shaker and Mirror Fret Challenges
Luxury cabinetry often utilises high-density MDF or solid timber cores, which significantly increases the door’s mass compared to standard alternatives. When performing a concealed wardrobe hinges adjustment on these substantial panels, the margin for error narrows. The narrow stiles of skinny shaker wardrobe doors require a high level of technical precision to ensure the hinge cup remains secure within the slender profile. Similarly, mirror fret wardrobe doors introduce the added weight of glass and intricate fretwork, making them prone to gradual sagging if the hardware isn’t calibrated perfectly.
Supporting these doors during adjustment is not optional; it is a structural requirement. A second person must hold the panel steady whilst you manipulate the screws. This prevents the weight from stripping the threads or causing the door to drop suddenly, which could shatter glass or dent the wardrobe carcass. If you require further guidance on maintaining your luxury installation, explore our full range of bespoke fitted wardrobes for professional technical specifications.
Weight Management in Floor-to-Ceiling Wardrobes
The physics of a tall, bespoke door dictates that the uppermost hinge facilitates the majority of the structural support. Over time, you may notice “hinge pull,” where the leverage exerted by a heavy door causes screws to slightly loosen within the MDF. For floor-to-ceiling designs exceeding 2.4 metres, we recommend a configuration of four or even five hinges to distribute this load effectively. During your adjustment, inspect each mounting plate for signs of movement before fine-tuning the alignment. Ensuring these foundational screws are tight is the only way to prevent the door from “creeping” back out of alignment after you’ve finished your work.
Protecting Hand-Sprayed Finishes
Maintaining the pristine condition of a premium finish whilst working with metal tools requires meticulous care. A common professional technique involves placing a thin cardboard shim beneath the door’s bottom edge. This provides a safety buffer that prevents the door from scuffing the floor or the wardrobe plinth if it shifts during the adjustment process. Always ensure your hands and tools are free from grease; transfer from the hinge mechanism to the paintwork can be difficult to remove without affecting the sheen of the finish. Using a clean, dry cloth to wipe the hardware as you work is a simple but effective habit of the master craftsman.
Maintaining Your Luxury Wardrobes for the Long Term
Establishing an annual “alignment check” is the final act of stewardship for your bespoke furniture. British homes are subject to significant seasonal fluctuations in temperature and humidity, which inevitably affect the moisture content of timber and MDF panels. Even the most precise concealed wardrobe hinges adjustment may require periodic recalibration as doors subtly expand in winter or contract during drier summer months. By dedicating twenty minutes each year to inspecting your wardrobe’s shadow lines, you prevent minor misalignments from developing into structural issues or causing wear on your finishes.
Lubrication is another essential component of long-term care. If you notice a faint resistance or a dry sound during operation, a light application of a silicone-based spray can restore the silent, effortless movement of the hinge arm. Avoid oil-based lubricants, as these can attract dust and eventually gum up the delicate internal springs of a soft-close mechanism. Apply the spray sparingly to the pivot points, using a clean cloth to shield your hand-sprayed finishes from any accidental overspray. Knowing when to stop is equally vital; if a screw feels loose or spins without catching, the material beneath may have reached its limit.
Signs Your Hinges Need Replacement
There comes a point where simple adjustment is no longer sufficient. Metal fatigue is a reality for hinges supporting heavy Mirror Fret or solid MDF panels over several years. You should inspect your hardware for the following indicators of failure:
- Visible Sagging: A hinge arm that appears bent or doesn’t respond to vertical adjustment screws.
- Soft-Close Failure: The hydraulic damper has lost its resistance, causing the door to bounce or slam rather than gliding to a silent stop.
- Blown Screw Holes: The MDF or timber of the wardrobe carcass has crumbled, meaning the mounting plate can no longer be secured tightly.
The Benefits of Professional Installation
Whilst homeowners can certainly master basic maintenance, the initial fitting of trade supplier wardrobe doors often demands a higher level of expertise. Professional installers utilise comprehensive site surveys and technical drawings to account for the uneven floors and “out-of-plumb” walls common in many British properties. An expert fitter doesn’t just hang a door; they calibrate the entire system to ensure floor-to-ceiling panels operate with flawless symmetry from the moment of installation. This foundational precision makes your future efforts in concealed wardrobe hinges adjustment significantly easier, as the hardware is already operating within its optimal mechanical range.
Preserving the Symmetry of Your Bespoke Masterpiece
Achieving flawless alignment is the final act of luxury craftsmanship. By mastering the three dimensions of movement and respecting the weight of premium materials, you ensure your furniture remains a functional work of art. Whether you’re fine-tuning a floor-to-ceiling installation or correcting the natural settling of a British home, concealed wardrobe hinges adjustment is a skill that preserves both the aesthetic and the structural integrity of your cabinetry. Regular maintenance ensures that the silent, effortless operation of your doors remains consistent over time.
We take immense pride in our manufacturing heritage; every door is hand-sprayed and crafted in England. Our services are expertly designed for London and the Home Counties, but we provide national delivery and professional installation to ensure precision from the outset. Explore our range of bespoke luxury wardrobe doors to discover how our commitment to quality can transform your living space. With a meticulous approach and the technical insights shared in this guide, your wardrobes will continue to exude understated elegance for years to come.
Frequently Asked Questions
How do I fix a sagging wardrobe door that scrapes the floor?
Fix a sagging door by adjusting the vertical screws on the mounting plate to raise the door’s position. This specific concealed wardrobe hinges adjustment requires you to loosen the screws, lift the door until the bottom edge clears the floor, and then re-tighten them securely. Because bespoke doors often utilise high-density materials, having an assistant to hold the door whilst you work prevents the screws from stripping the carcass.
Which screw adjusts the height of a concealed hinge?
The height is adjusted using the screws on the mounting plate, which is the component fixed to the wardrobe interior. By loosening these screws slightly, you can move the door up or down across a range that typically spans +4mm to -2mm in modern hardware models. This ensures that the top edges of all doors in a run align perfectly, maintaining the architectural symmetry of your luxury installation.
Why won’t my wardrobe door stay closed even after adjustment?
A door that refuses to stay closed often suffers from an incorrect depth adjustment or a compromised soft-close mechanism. If the door is set too close to the carcass, it may “spring back” rather than seating flush against the frame. Use the rear screw on the hinge arm to move the door slightly outwards. This provides the necessary clearance for the soft-close damper to pull the door home silently.
Can I adjust the hinges on heavy mirrored wardrobe doors myself?
Adjusting heavy mirrored doors is possible for homeowners, provided a second person is present to manage the weight. The added mass of glass and fretwork places significant strain on the top hinge during the adjustment process. Without adequate support, loosening the screws can cause the door to drop suddenly, potentially damaging the delicate hand-sprayed finish or shattering the mirrored inlay. Safety and precision must remain your primary concerns.
How much of a gap should there be between two wardrobe doors?
A consistent gap of 2mm to 3mm between doors is the professional benchmark for luxury fitted furniture. This spacing, known as a shadow line, allows for the natural expansion of materials whilst ensuring the doors don’t collide during operation. Achieving this uniform gap across a full bank of wardrobes requires a meticulous, iterative approach to lateral adjustment, moving each door millimetre by millimetre until perfect symmetry is reached.
What tools do I need for concealed wardrobe hinges adjustment?
Precision adjustment requires a manual Pozidriv PZ2 screwdriver, a spirit level, and high-quality task lighting. You should avoid power drills, as the high torque can easily strip the precision threads of the mounting plate. A spirit level is essential to verify that the wardrobe carcass is plumb before you begin, whilst masking tape can be used to mark alignment targets on the frame without risking any damage to the paintwork.
Why do my wardrobe doors keep going out of alignment?
Doors often drift out of alignment due to seasonal fluctuations in the British climate or the natural settling of the property. Changes in humidity cause the timber and MDF components to expand and contract, which can subtly shift the door’s geometry. Performing a concealed wardrobe hinges adjustment as part of an annual maintenance routine ensures these minor movements don’t lead to permanent structural strain or damage to your hand-sprayed finishes.
Is it possible to over-tighten wardrobe hinge screws?
Over-tightening is a common mistake that can permanently damage the wardrobe carcass. Applying excessive force can strip the internal threads of the MDF, leaving the mounting plate unable to hold the door’s weight securely. By using a manual screwdriver, you maintain a tactile connection to the hardware, allowing you to feel when the screw is firmly seated without over-stressing the material. If a screw hole becomes “blown,” professional intervention may be required.