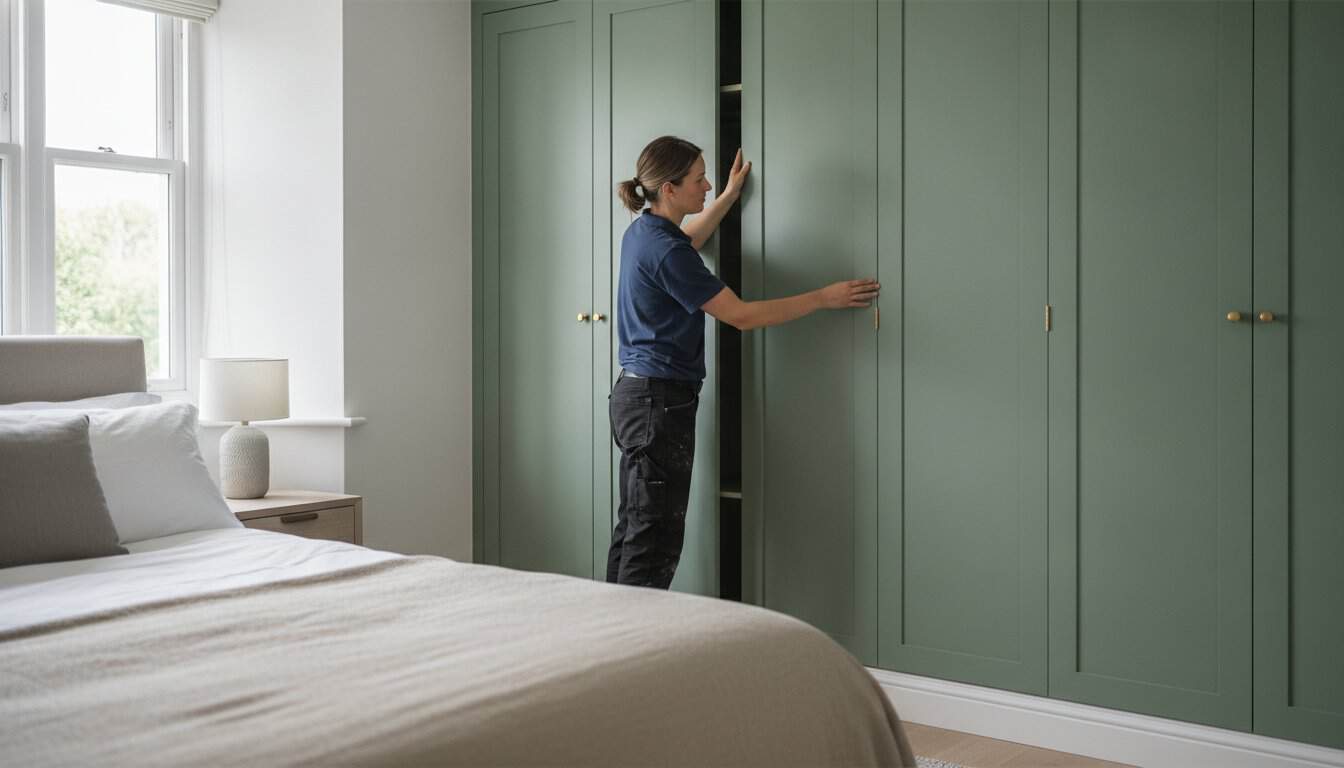
What if the secret to a high-end dressing room isn’t the timber itself, but the mathematical precision of the frontage? You’ve likely spent hours browsing aspirational interiors, only to feel a sense of hesitation about starting your own project. It’s natural to worry about the complexities of scribing units to uneven walls or the high stakes of mismeasuring expensive custom components. This professional guide explains exactly how to build a fitted wardrobe with made to measure doors to achieve a result that rivals the work of the most exclusive design houses.
We understand that true luxury lies in the details that often go unseen. You want a floor-to-ceiling solution that looks integrated rather than added on, featuring perfectly aligned doors and satisfying soft-close functionality. By combining structural precision with hand-sprayed finishing, you can bridge the gap between a basic storage unit and a piece of furniture that truly defines a room. We’ll explore technical requirements, the nuances of choosing styles like Skinny Shaker or Mirror Fret, and the secrets to achieving a durable, luxury colour finish that stands the test of time.
Key Takeaways
- Learn how to assess structural obstacles like coving and skirting boards to ensure your bespoke cabinetry integrates perfectly into the room’s footprint.
- Discover how to build a fitted wardrobe with made to measure doors by selecting the most appropriate carcass construction method for your project’s requirements.
- Understand the critical differences between overlay and in-frame configurations when specifying specialist styles like Skinny Shaker or Mirror Fret doors.
- Master professional installation techniques, including scribing to uneven masonry and precise levelling, to ensure flawless door alignment and soft-close functionality.
- Explore the advantages of a factory-standard hand-sprayed finish to achieve a durable, luxury colour finish that surpasses traditional brush-painted results.
The Blueprint: Planning Your Bespoke Fitted Wardrobe Project
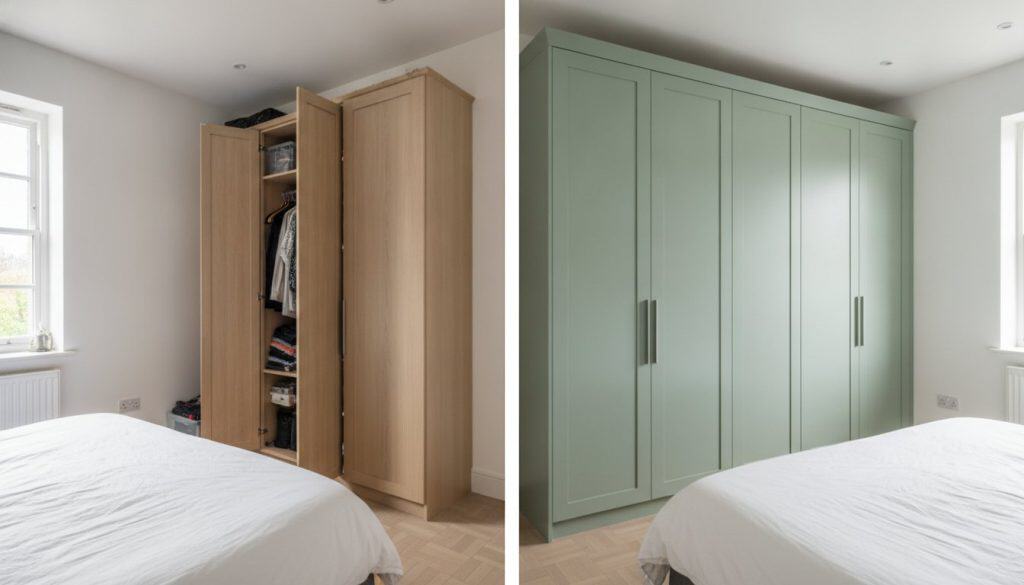
The bespoke approach isn’t merely about aesthetics; it’s about engineering a solution that respects the unique architecture of your home. Standard off-the-shelf units often leave awkward gaps or require unsightly filler panels that betray their mass-produced origins. In contrast, bespoke fitted wardrobes are designed to occupy every millimetre of available space, turning architectural challenges into design features. When you understand how to build a fitted wardrobe with made to measure doors, you transition from simple storage to creating a permanent, high-value architectural addition.
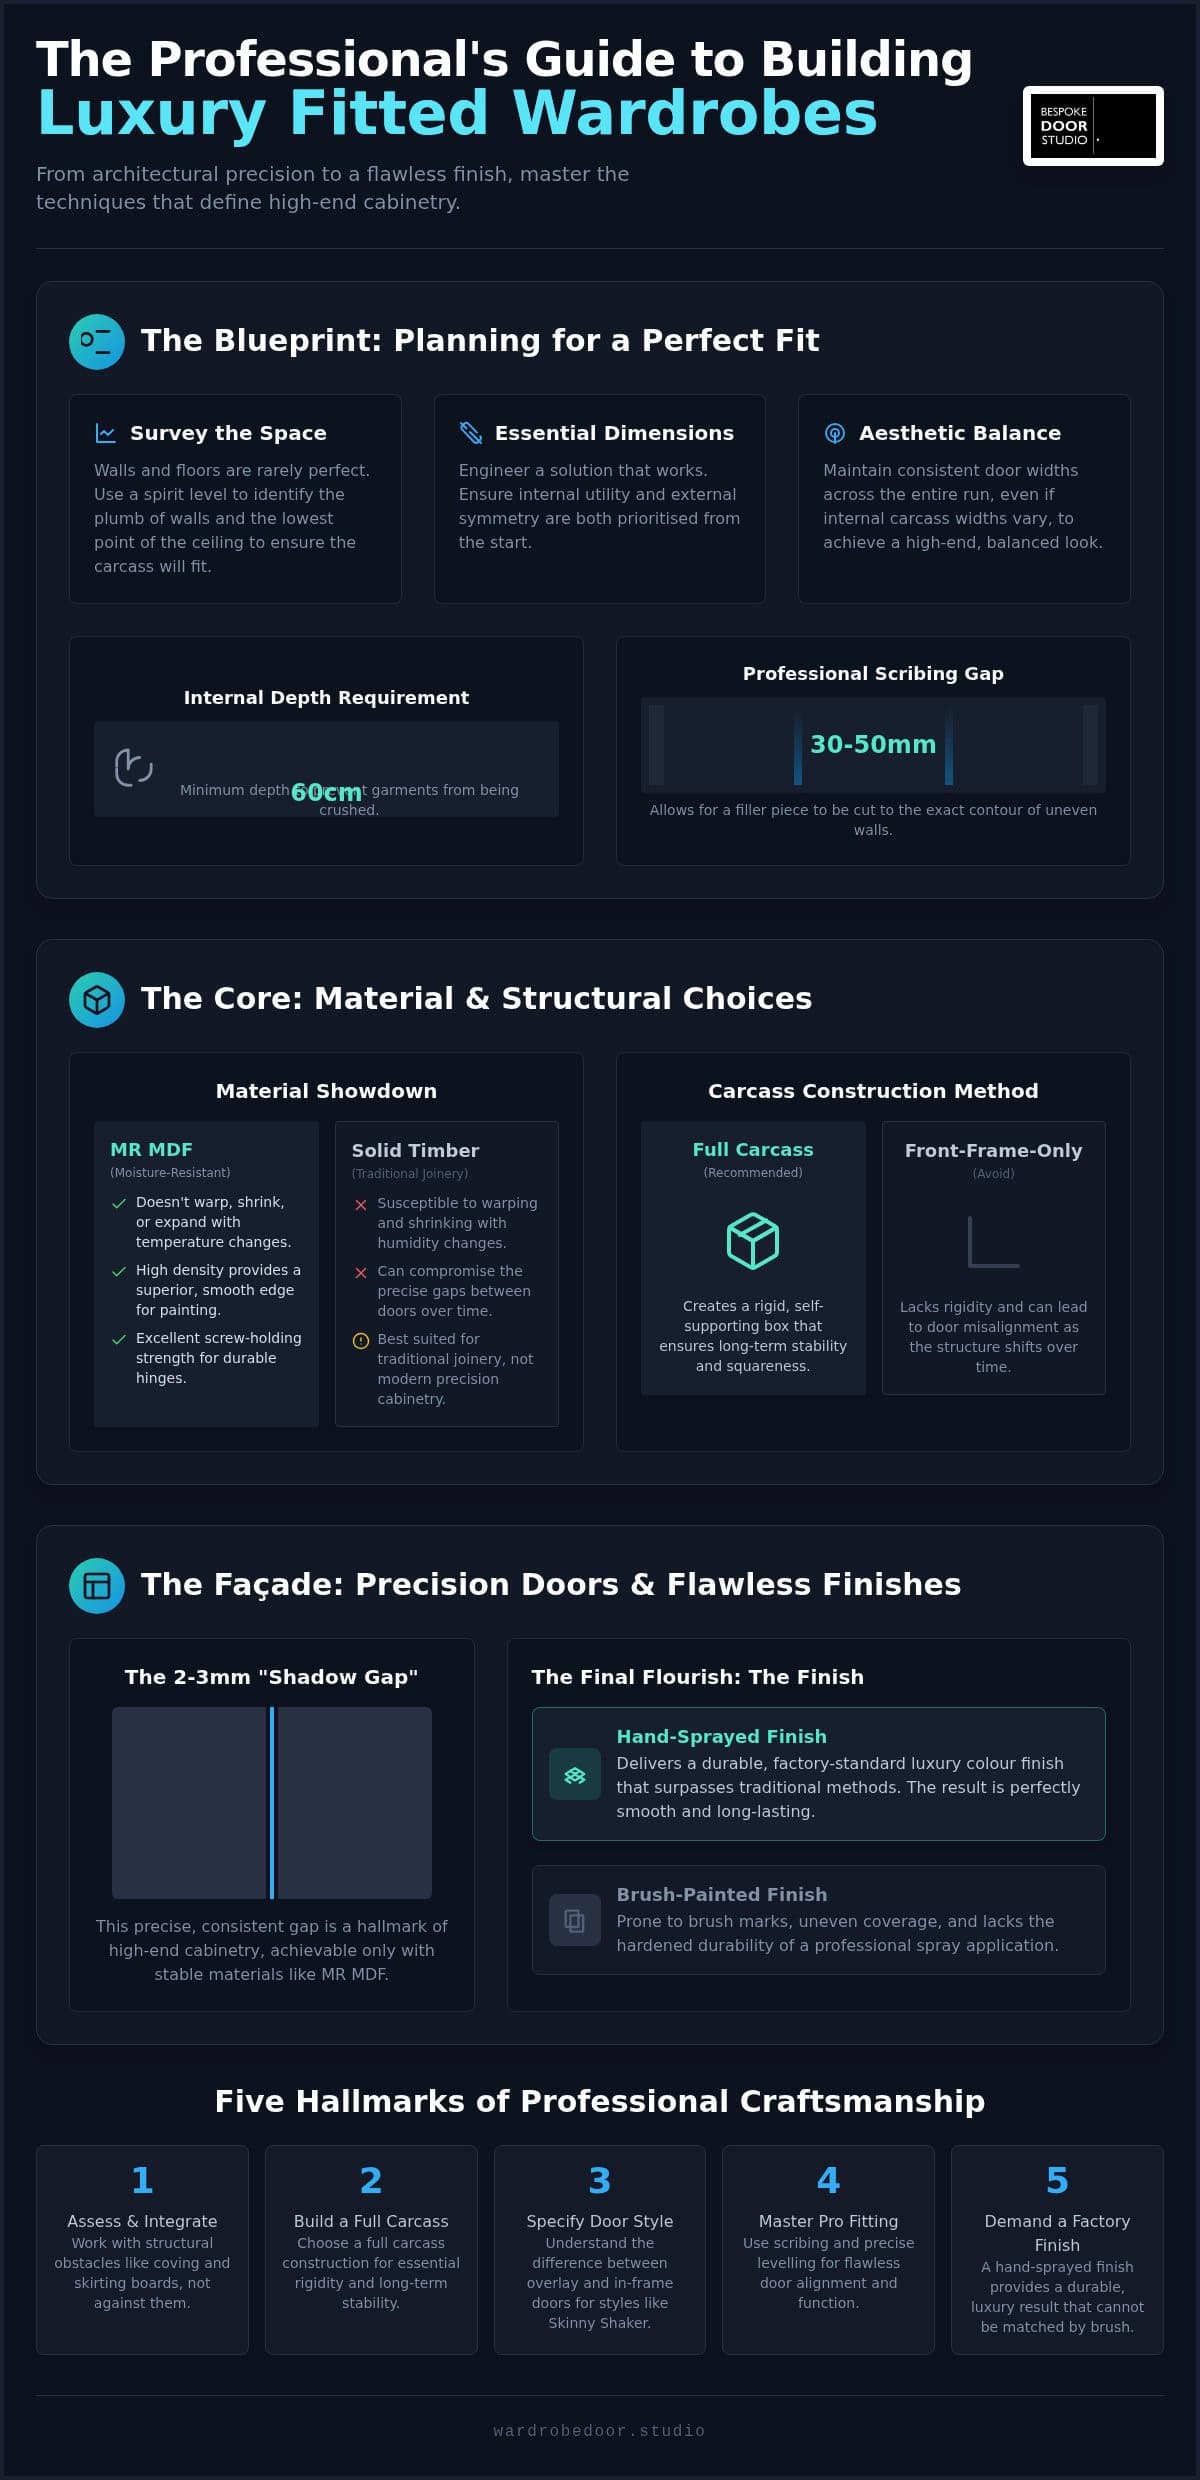
Planning involves a delicate balance between internal utility and external symmetry. Internally, your storage must accommodate standard clothes hangers, which require a minimum internal depth of 60cm to prevent garments from being crushed. Externally, the goal is a balanced aesthetic. This means ensuring your door widths remain consistent across the entire run, even if the internal carcass widths vary slightly to accommodate the room’s dimensions.
Surveying the Space for a Professional Fit
Achieving a seamless finish requires a meticulous survey of the environment. Walls are rarely perfectly vertical, and floors are seldom level. Using a high-quality spirit level, you must identify the “plumb” of your walls and the “level” of the floor. It’s vital to locate the lowest point of the ceiling across the entire width of the wardrobe. If you build to the highest point, you’ll find the carcass physically cannot be installed at the opposite end.
Professional installers always account for “scribing” gaps. Your wardrobe carcass shouldn’t be the exact width of an alcove. You should leave a margin, typically 30-50mm, on either side. This space allows you to cut a matching filler piece, known as a scribe, to follow the exact contour of your uneven masonry. This technique creates the illusion of a perfectly straight wall and is a hallmark of professional craftsmanship.
Material Selection: MDF vs Solid Timber
Foundational Cabinetry construction principles dictate that the stability of the core is as important as the beauty of the door. Whilst solid timber has its place in traditional joinery, high-grade, moisture-resistant (MR) MDF is the industry standard for high-end fitted wardrobes. Unlike solid wood, MDF doesn’t warp, shrink, or expand significantly with changes in room temperature. This stability is crucial for maintaining the precise 2-3mm “shadow gap” between your doors.
When selecting materials, prioritise density. A higher-density board provides a smoother edge for painting and superior screw-holding strength for hinges. Sourcing sustainable British materials ensures a lower carbon footprint whilst supporting local manufacturing excellence. This choice of material ensures your wardrobe remains a durable, long-term investment in your home’s infrastructure.
Constructing the Core: Carcass Options and Structural Integrity
The structural integrity of your wardrobe depends entirely on the method used to build the internal core. Whilst hobbyist guides often suggest timber battening for a “front-frame-only” build, this approach lacks the rigidity required for luxury cabinetry. A full carcass construction creates a self-supporting box that ensures your wardrobe remains square over time. This stability is essential when learning how to build a fitted wardrobe with made to measure doors, as even a millimetre of structural shift can cause doors to bind or misalign. A full carcass also allows for more sophisticated internal configurations, such as integrated drawers and adjustable shelving systems.
For those managing the project themselves, selecting high-quality trade supplier wardrobe doors ensures that the frontage matches the durability of the internal build. Professional joinery typically relies on cam-and-pin fittings or screw-and-plug methods. Cam-and-pin joinery is particularly effective for those who may need to disassemble or adjust the units during the installation process, whilst screw-and-plug provides a permanent, incredibly rigid bond.
Building Your Own Carcass from Scratch
Building from raw sheets of 18mm moisture-resistant MDF requires absolute precision. A track saw or table saw is necessary to achieve the perfectly square cuts needed for seamless joinery. When operating high-powered cutting equipment, always adhere to established Woodworking machinery safety standards to prevent injury and ensure material accuracy. Once cut, raw MDF edges should be finished with iron-on edge banding or a dedicated edge-filling primer to ensure the final paint finish is consistent across the entire unit. For superior strength, avoid thin 3mm back panels. Instead, use a 9mm back panel housed in a pre-cut groove to provide lateral stability and prevent the carcass from “racking” under the weight of the doors.
Ordering Made to Measure Carcasses
Many developers and skilled DIYers choose to outsource the carcass production to specialists. Precision-cut, flat-pack bespoke carcasses arrive pre-drilled for hinges and shelf pins, which significantly reduces the margin for error. This method ensures that the hinge hole positions in the carcass perfectly align with your chosen door style. If you’re coordinating multiple components, organise your delivery so that the carcasses arrive shortly before your doors. This allows you to install the core structures first, providing a stable environment to hang your bespoke fitted wardrobes frontage without cluttering the workspace with unhung panels.
The Art of Precision: Ordering Made to Measure Wardrobe Doors
The visual character of your installation is defined entirely by its frontage. Mastering how to build a fitted wardrobe with made to measure doors requires a shift from structural joinery to the nuances of fine finishing. You must first decide between an “overlay” or “in-frame” configuration. Overlay doors sit on the face of the carcass, concealing the framework for a contemporary, seamless look. In-frame designs sit within a visible frame, offering a traditional, bespoke aesthetic. This choice dictates your measurement strategy; overlay doors are typically 4mm smaller than the external carcass width, whilst in-frame doors must be measured against the internal aperture with extreme precision.
To maintain professional woodworking standards, you should allow a consistent 2mm gap on all sides. This shadow gap provides necessary clearance for the hinges to operate without the door binding against the frame or adjacent units. When ordering, you’ll also need to specify hinge hole centres. Standard practice is to place these 100mm from the top and bottom of the door, though this may vary depending on your specific carcass height and shelf positions. Double-check that these centres don’t clash with internal drawer runners or fixed shelving units.
Measuring for Custom Doors: A Step-by-Step Guide
Accuracy is paramount. You should always measure the carcass opening in three places, top, middle, and bottom, to identify any slight deviations in the build. Use the smallest dimension as your base. Subtract the required clearance, usually 4mm in total for both width and height, to arrive at your final door size. Always record your measurements in millimetres. Relying on centimetres or inches introduces rounding errors that can ruin a luxury finish. If you’re replacing doors on an existing carcass, measure the carcass opening itself rather than the old doors to ensure any previous errors aren’t repeated.
Selecting a Luxury Door Aesthetic
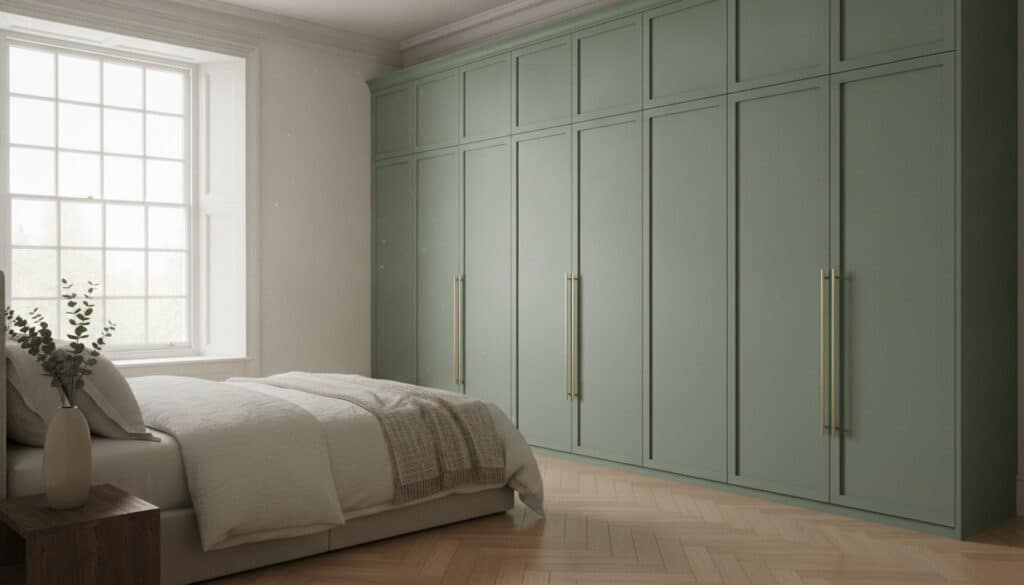
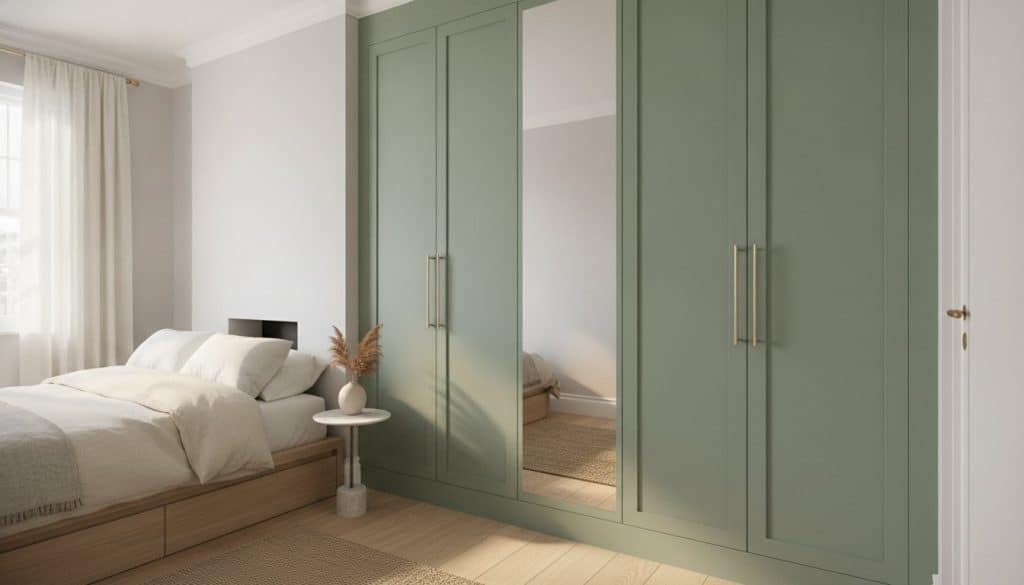
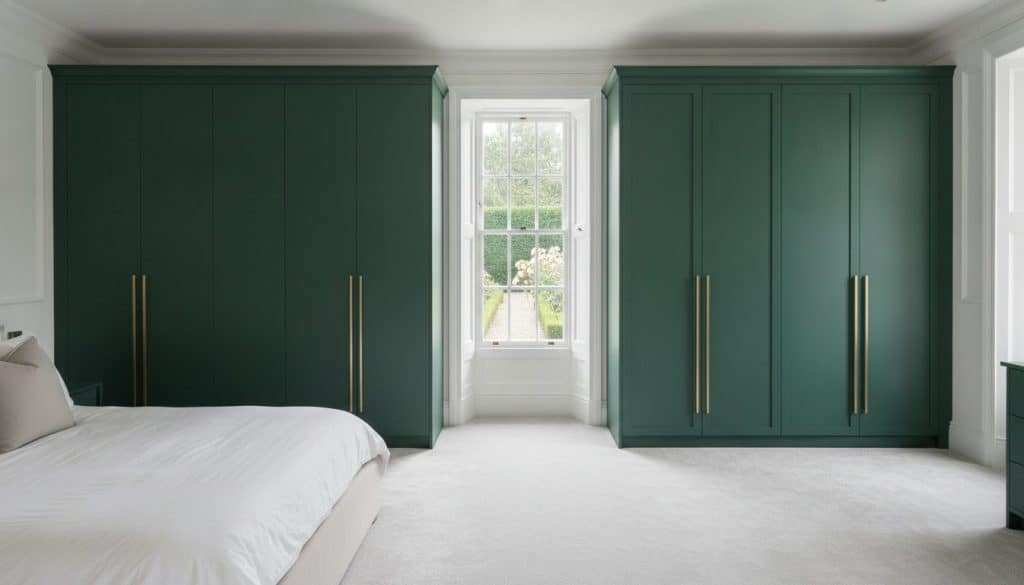
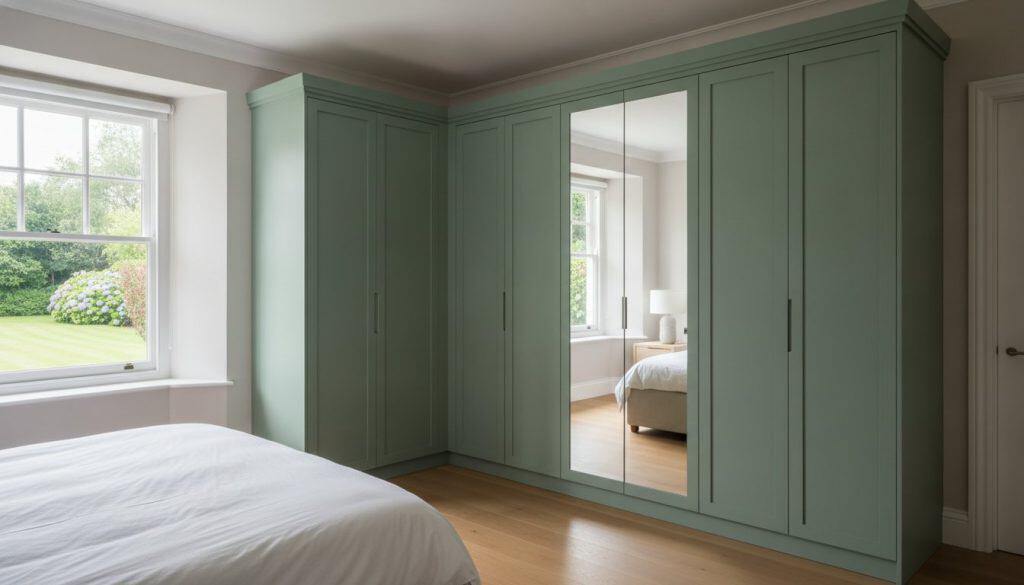
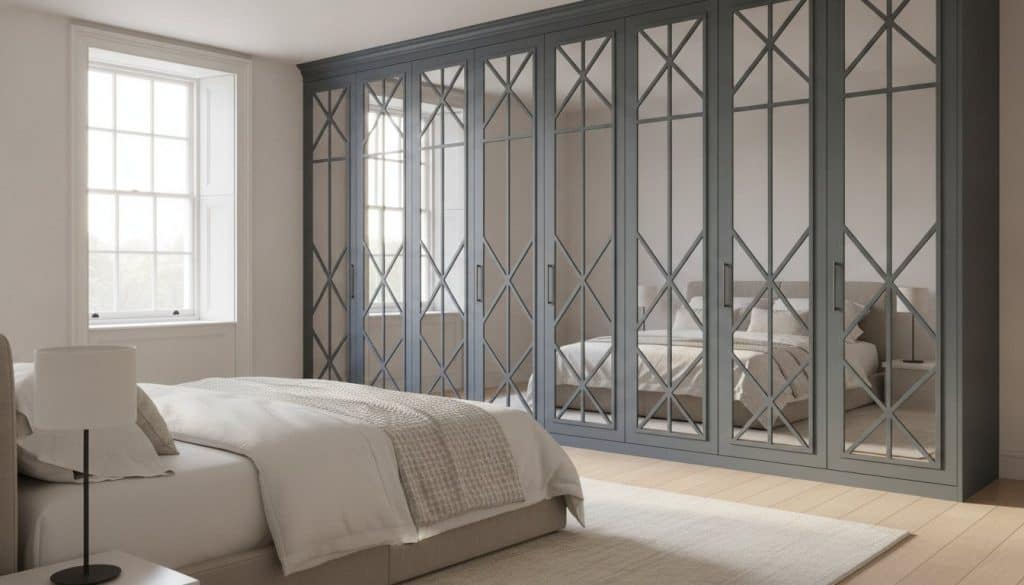
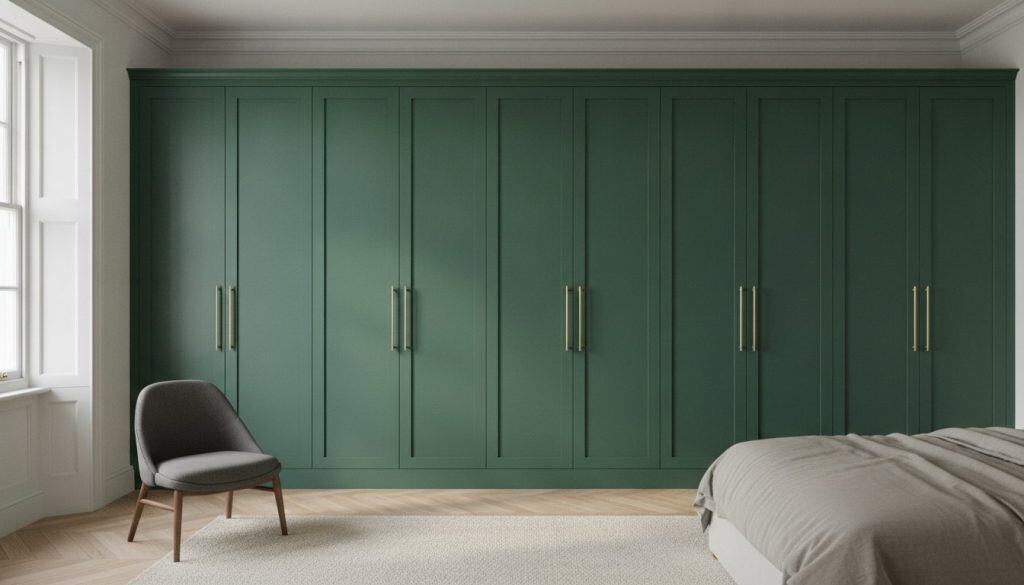
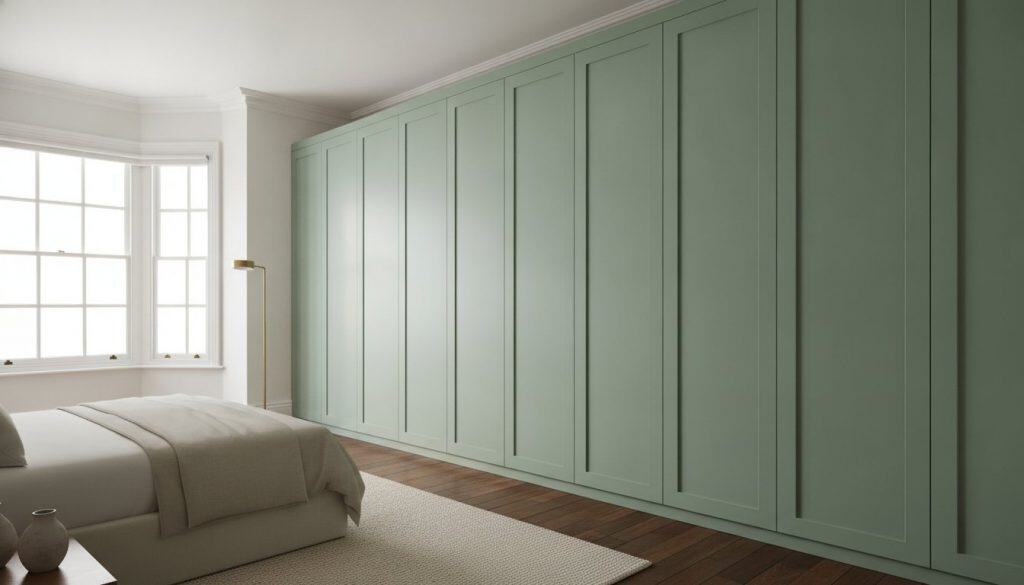
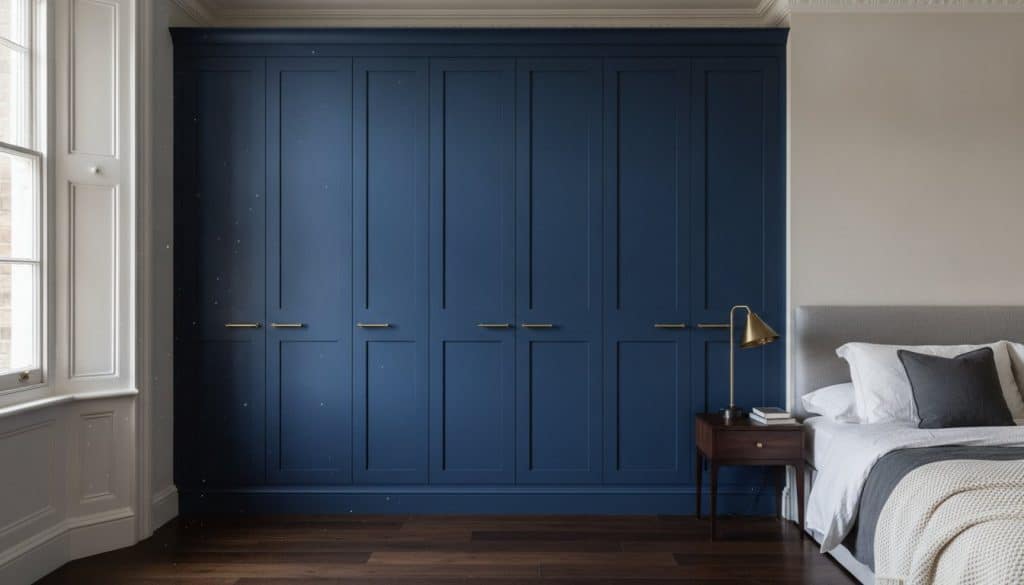
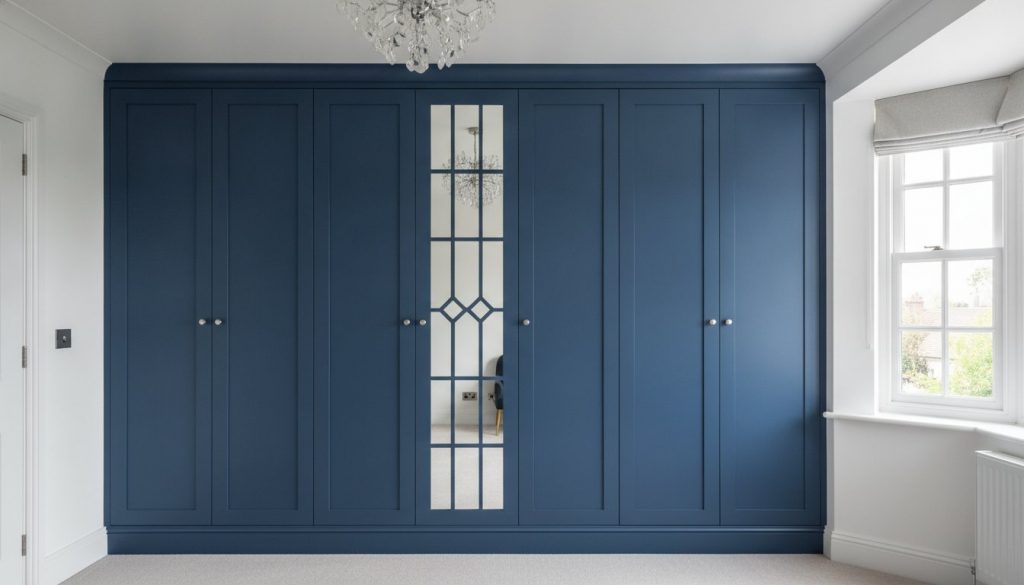
The choice of style transforms the room’s atmosphere. For a minimalist, modern aesthetic, skinny shaker wardrobe doors provide a refined alternative to the chunkier traditional Shaker, featuring elegant 20mm rails. Alternatively, Mirror fret wardrobe doors introduce architectural depth and reflect light, making them ideal for smaller suites or dressing rooms.
Unlike mass-produced vinyl-wrapped alternatives, which often peel at the edges, a professional hand-sprayed finish offers a superior, durable colour. This process involves multiple layers of high-build primer and specialist furniture lacquer, resulting in a depth of colour that standard brush painting cannot replicate. This commitment to quality ensures your doors remain as striking in a decade as they are on the day of installation.
Professional Fitting Techniques: Scribing, Levelling, and Hinges
The physical installation of your cabinetry is where structural planning meets artistic execution. If you’re learning how to build a fitted wardrobe with made to measure doors, you must prioritise the level of the carcass above all else. Even a minor deviation of two millimetres across the floor can translate into a significant misalignment at the top of a 2.4-metre unit. Use adjustable feet or hardwood shims to ensure the base is perfectly horizontal. Once levelled, secure the units to the masonry using appropriate fixings for your wall type. This is a critical safety protocol for floor-to-ceiling installations; it ensures the structure remains rigid once the weight of the doors is added.
The Secret to a Seamless Look: Scribing
Scribing is the professional technique used to close the gap between a straight wardrobe and an uneven wall. To achieve this, you’ll use a filler piece and a scriber tool or a simple compass. Hold the filler panel against the wall and run the compass along the masonry, mirroring the wall’s profile onto the wood. When cutting this line, use a jigsaw or a power plane to “back-cut” the edge at a slight angle. This ensures the front edge of the timber touches the wall first, creating a tighter, more professional fit.
Fixing these panels requires a discreet approach to maintain the luxury aesthetic. Avoid driving screws through the face of the filler. Instead, fix small timber blocks to the side of the wardrobe carcass and screw into the back of the filler panel from the inside. This method conceals all fixings, leaving a clean, uninterrupted line between your furniture and the architecture of the room.
Hanging and Aligning Your Made to Measure Doors
Hanging the doors is the most rewarding phase of the project. Most high-end installations utilise a “click-on” hinge mechanism, which allows you to mount the hinge plates to the carcass and then simply click the doors into place. This system is invaluable when working alone, as it removes the need to hold a heavy door whilst simultaneously driving screws. Ensure your hinge plates are set at the correct depth to achieve the desired overlay mentioned in previous sections.
Modern concealed hinges offer three-way adjustment, allowing you to move the door up and down, side to side, and in or out. This flexibility is essential for fine-tuning the 2mm shadow line. Small, incremental turns of the adjustment screws will align the doors perfectly, ensuring they sit flush and operate with a smooth, soft-close action. If you’re ready to start your journey towards a professional finish, you can explore our range of bespoke fitted wardrobes and specialist door styles.
The Final Flourish: Hand-Sprayed Finishes and Luxury Hardware
The final phase of your installation is where the aesthetic vision truly crystallises. When you master how to build a fitted wardrobe with made to measure doors, the finish determines whether the result looks like a professional commission or a standard DIY attempt. Whilst the structural work provides the foundation, the surface texture and hardware selection provide the tactile luxury associated with high-end cabinetry. Achieving this requires a move away from retail-grade paints and basic fittings towards industrial-standard finishes and precision-engineered hardware.
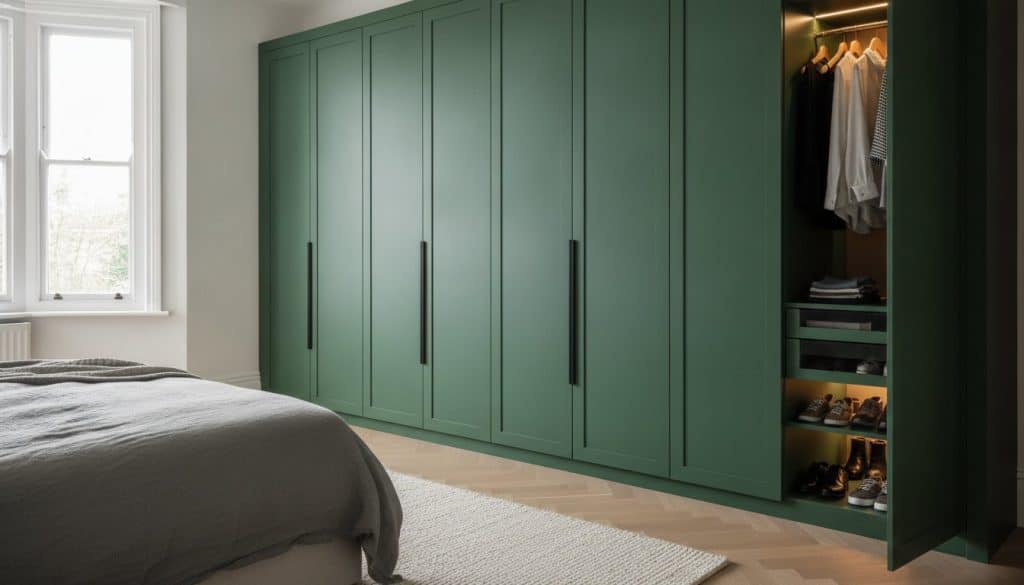
Selecting your colour palette is a pivotal decision. For 2026, British design trends continue to favour sophisticated, nature-inspired tones. Muted clays, deep forest greens, and timeless navy remain popular for creating a sense of permanence and calm. These colours, when applied through a professional hand-sprayed finishing process, offer a depth and consistency that standard brush-applied paints simply cannot replicate. The result is a uniform, durable surface that withstands the rigours of daily use whilst maintaining its lustre.
Why Factory Sprayed Beats DIY Painting
The technical superiority of factory-applied finishes lies in the chemistry of the materials. Professional workshops use acid-catalyst lacquers, which are far more durable than the water-based emulsions found in local hardware stores. These lacquers provide a hard-wearing shield against scratches and moisture. The spraying process ensures an “orange-peel free” texture. This is particularly important for large, flat panels where brush marks or roller stippling would be immediately visible under bedroom lighting. A factory-controlled environment also ensures total colour consistency across every door, filler panel, and plinth, creating a cohesive, integrated look that defines bespoke furniture. High-density boards, often preferred over standard vinyl wraps, provide the ideal substrate for these high-performance coatings.
Hardware and Interior Accessories
Hardware serves as the jewellery of your wardrobe. The choice of handles should complement your door style; for instance, knurled brass or matt black pulls offer a striking contrast to the clean lines of Skinny Shaker doors. Polished chrome remains a favourite for more traditional Mirror Fret designs. Beyond the external handles, the internal tactile experience is equally important. Installing high-quality soft-close dampers ensures that every door closes with a silent, controlled motion, reinforcing the premium feel of the build.
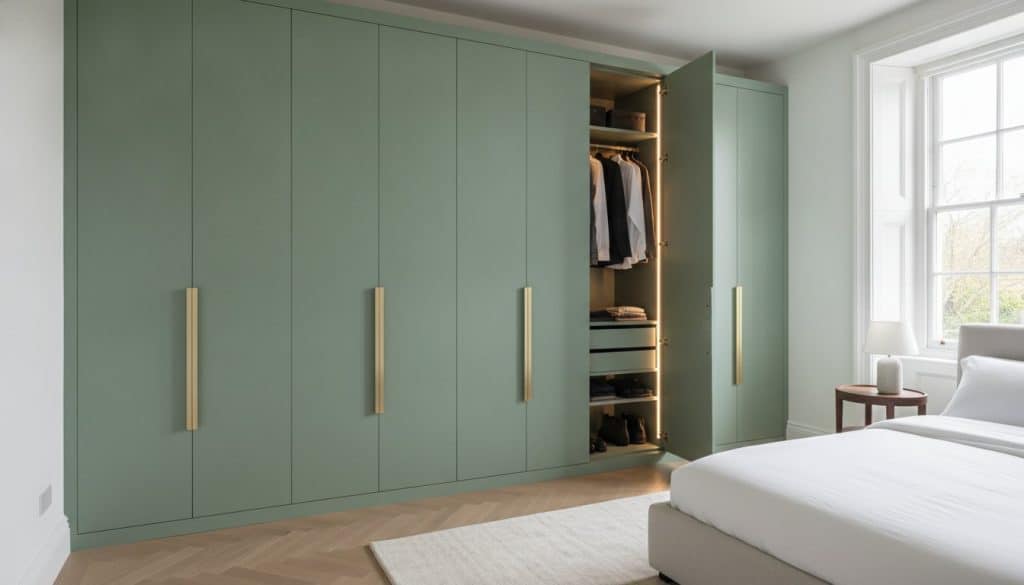
To truly elevate the interior, consider integrating LED strip lighting. These can be recessed into the side panels and triggered by infrared sensors when the doors open. This not only improves functionality but also highlights the internal organisation of your bespoke storage. Once the hardware is fitted, conduct a final test of all moving parts. Small adjustments to the hinge tension will ensure the doors are perfectly balanced, completing your project to a professional standard.
Transforming Your Interior with Architectural Precision
Achieving a professional result requires a dedicated focus on structural integrity and aesthetic refinement. By understanding the complexities of how to build a fitted wardrobe with made to measure doors, you move beyond basic storage to create a permanent architectural feature. The success of your project rests on the marriage of a perfectly levelled carcass and the seamless integration of scribed panels. When these technical elements are combined with the superior texture of factory-finished frontage, the result is a piece of furniture that defines the room’s character.
Our workspace specialises in the production of Skinny Shaker and Mirror Fret styles, each hand-sprayed in England to ensure a flawless, durable finish. We support your vision with nationwide delivery for all supply-only orders, providing the high-end components required for a luxury outcome. Explore our range of luxury made-to-measure doors and start your bespoke project today. Embrace the challenge of custom design and enjoy the enduring satisfaction of a space that is truly made to measure.
Frequently Asked Questions
Can I use standard carcasses with made-to-measure doors?
Yes, you can. Many homeowners choose to use high-quality standard carcasses and then elevate the aesthetic with bespoke doors. The key is ensuring that the hinge hole positions on the standard unit align correctly with the custom-drilled holes on your new doors. This hybrid approach is a popular way to learn how to build a fitted wardrobe with made to measure doors whilst managing a specific budget.
What is the best material for building a fitted wardrobe carcass?
High-density moisture-resistant (MR) MDF is widely considered the industry standard for wardrobe carcasses. Unlike solid timber, which can warp or shrink, MR MDF provides a stable core that remains perfectly square over time. This stability is crucial for maintaining consistent shadow gaps between your doors. It also offers a superior surface for hand-sprayed finishing, ensuring a durable and luxury aesthetic that lasts for decades.
How much gap should I leave between wardrobe doors?
A standard gap of 2mm to 3mm is recommended between wardrobe doors to ensure smooth operation without binding. This is often referred to as a “shadow gap.” When you calculate measurements for your made-to-measure order, you should subtract this allowance from the total width of the carcass opening. This precision ensures that doors can open fully without catching on adjacent panels or architectural features like coving.
Is it cheaper to build your own fitted wardrobes?
Building your own wardrobes can be more cost-effective than a full design and installation service, provided you have the necessary tools and skills. By opting for a supply-only bespoke service, you avoid professional labour fees whilst still achieving a high-end result. However, you must account for the cost of quality materials like 18mm MR MDF and specialist tools like track saws, which are essential for a professional finish.
What are the most popular wardrobe door styles in 2026?
In 2026, the trend leans towards refined, architectural designs that blend traditional craft with modern minimalism. The Skinny Shaker remains a primary favourite due to its slim 20mm rails, offering a contemporary twist on a classic. Mirror Fret designs are also highly sought after for their ability to introduce light and intricate detail into a room. Both styles benefit significantly from a hand-sprayed finish in muted, nature-inspired tones.
Do I need a professional to install made-to-measure doors?
Professional installation isn’t strictly necessary if you are a confident DIYer or trade professional. Many clients choose a supply-only route, taking responsibility for the site survey and fitting themselves. However, a professional installer brings expertise in complex tasks like scribing to uneven walls and fine-tuning three-way hinges. If your project involves intricate fretwork or floor-to-ceiling units, a professional service ensures a flawless, high-value result.
How do I measure for wardrobe doors if the walls are not straight?
You should always measure the internal width and height of your carcass at three different points: the top, middle, and bottom. Use the smallest dimension as your base measurement to ensure the doors will fit within the narrowest part of the aperture. Professional techniques involve using filler panels that are “scribed” to the wall’s profile, allowing the wardrobe frontage to appear perfectly straight against uneven masonry.
What is a “Skinny Shaker” door and why is it trending?
A Skinny Shaker door is a modern variation of the traditional Shaker style, characterised by much narrower stiles and rails, typically around 20mm. It is trending because it offers a more delicate, minimalist aesthetic that suits contemporary British interiors. This style provides the structural depth of a framed door without the visual weight of older designs, making it an ideal choice for sophisticated, bespoke fitted wardrobes.